Every year I like to get some new decorations for each holiday. This year I have decided to make my own “ceramic” pumpkins. While out shopping at our local Pottery Barn I saw the Ceramic pumpkins they had on display and fell in love with them. I had to have my own collection, but mine would be made for a fraction of the cost. That was the inspiration for today’s tutorial. I took the look of the Pottery Barn pumpkins and created my own using Craft pumpkins, some acrylic paint, and a glossy finish. It has the same look as the Pottery Barn pumpkins at a fraction of the cost. I was able to create a grouping of 4 pumpkins for half the price of one from Pottery Barn. Here is how I did it.
Supplies Needed for Project
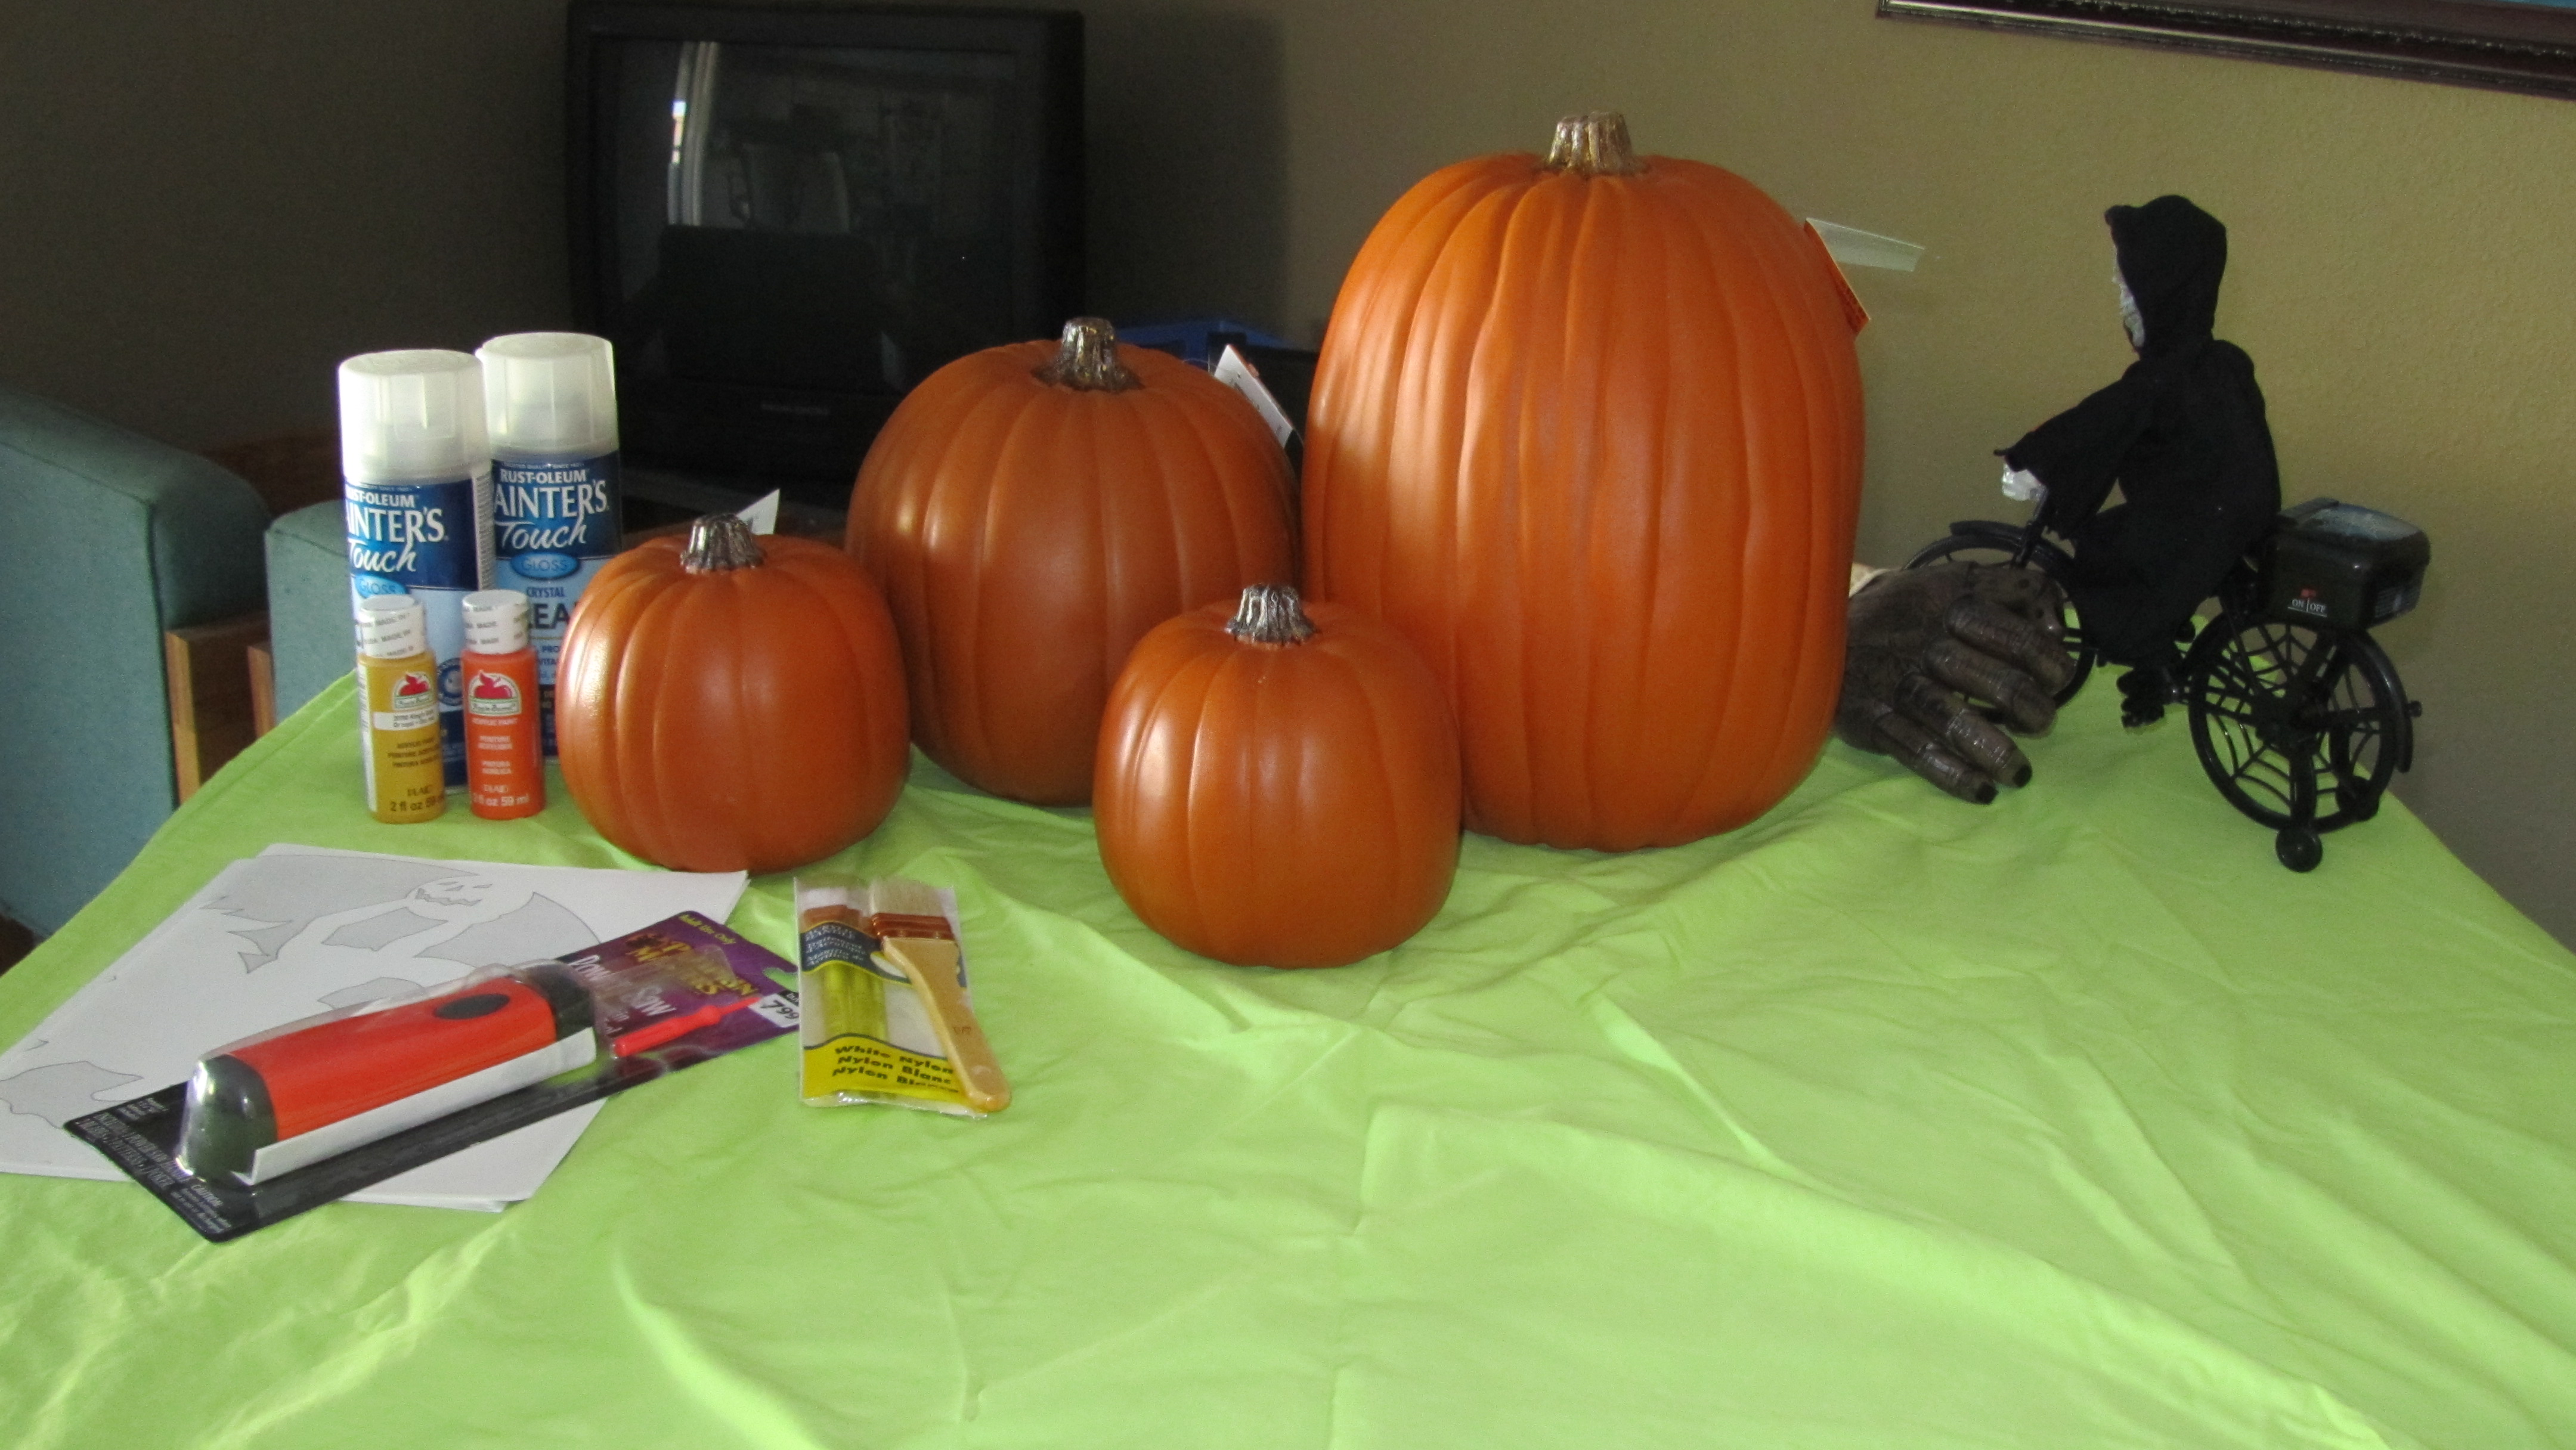
Supplies:
Craft Pumpkins (we used a large, medium, and 2 small that we got from Michaels at 50% off the normal price. If there is not a sale they always have 40% off coupons you can use.)
Pumpkin Carving Stencil of your choice or freehand your own design
Tape
Pumpkin carving tools
Sandpaper
A small paint brush
Acrylic Paint (we used Apple Barrel Paints from Michaels, $.99ea. in Kings Gold and Pumpkin Orange)
Clear Glossy Spray Paint
Electric Faux Candles
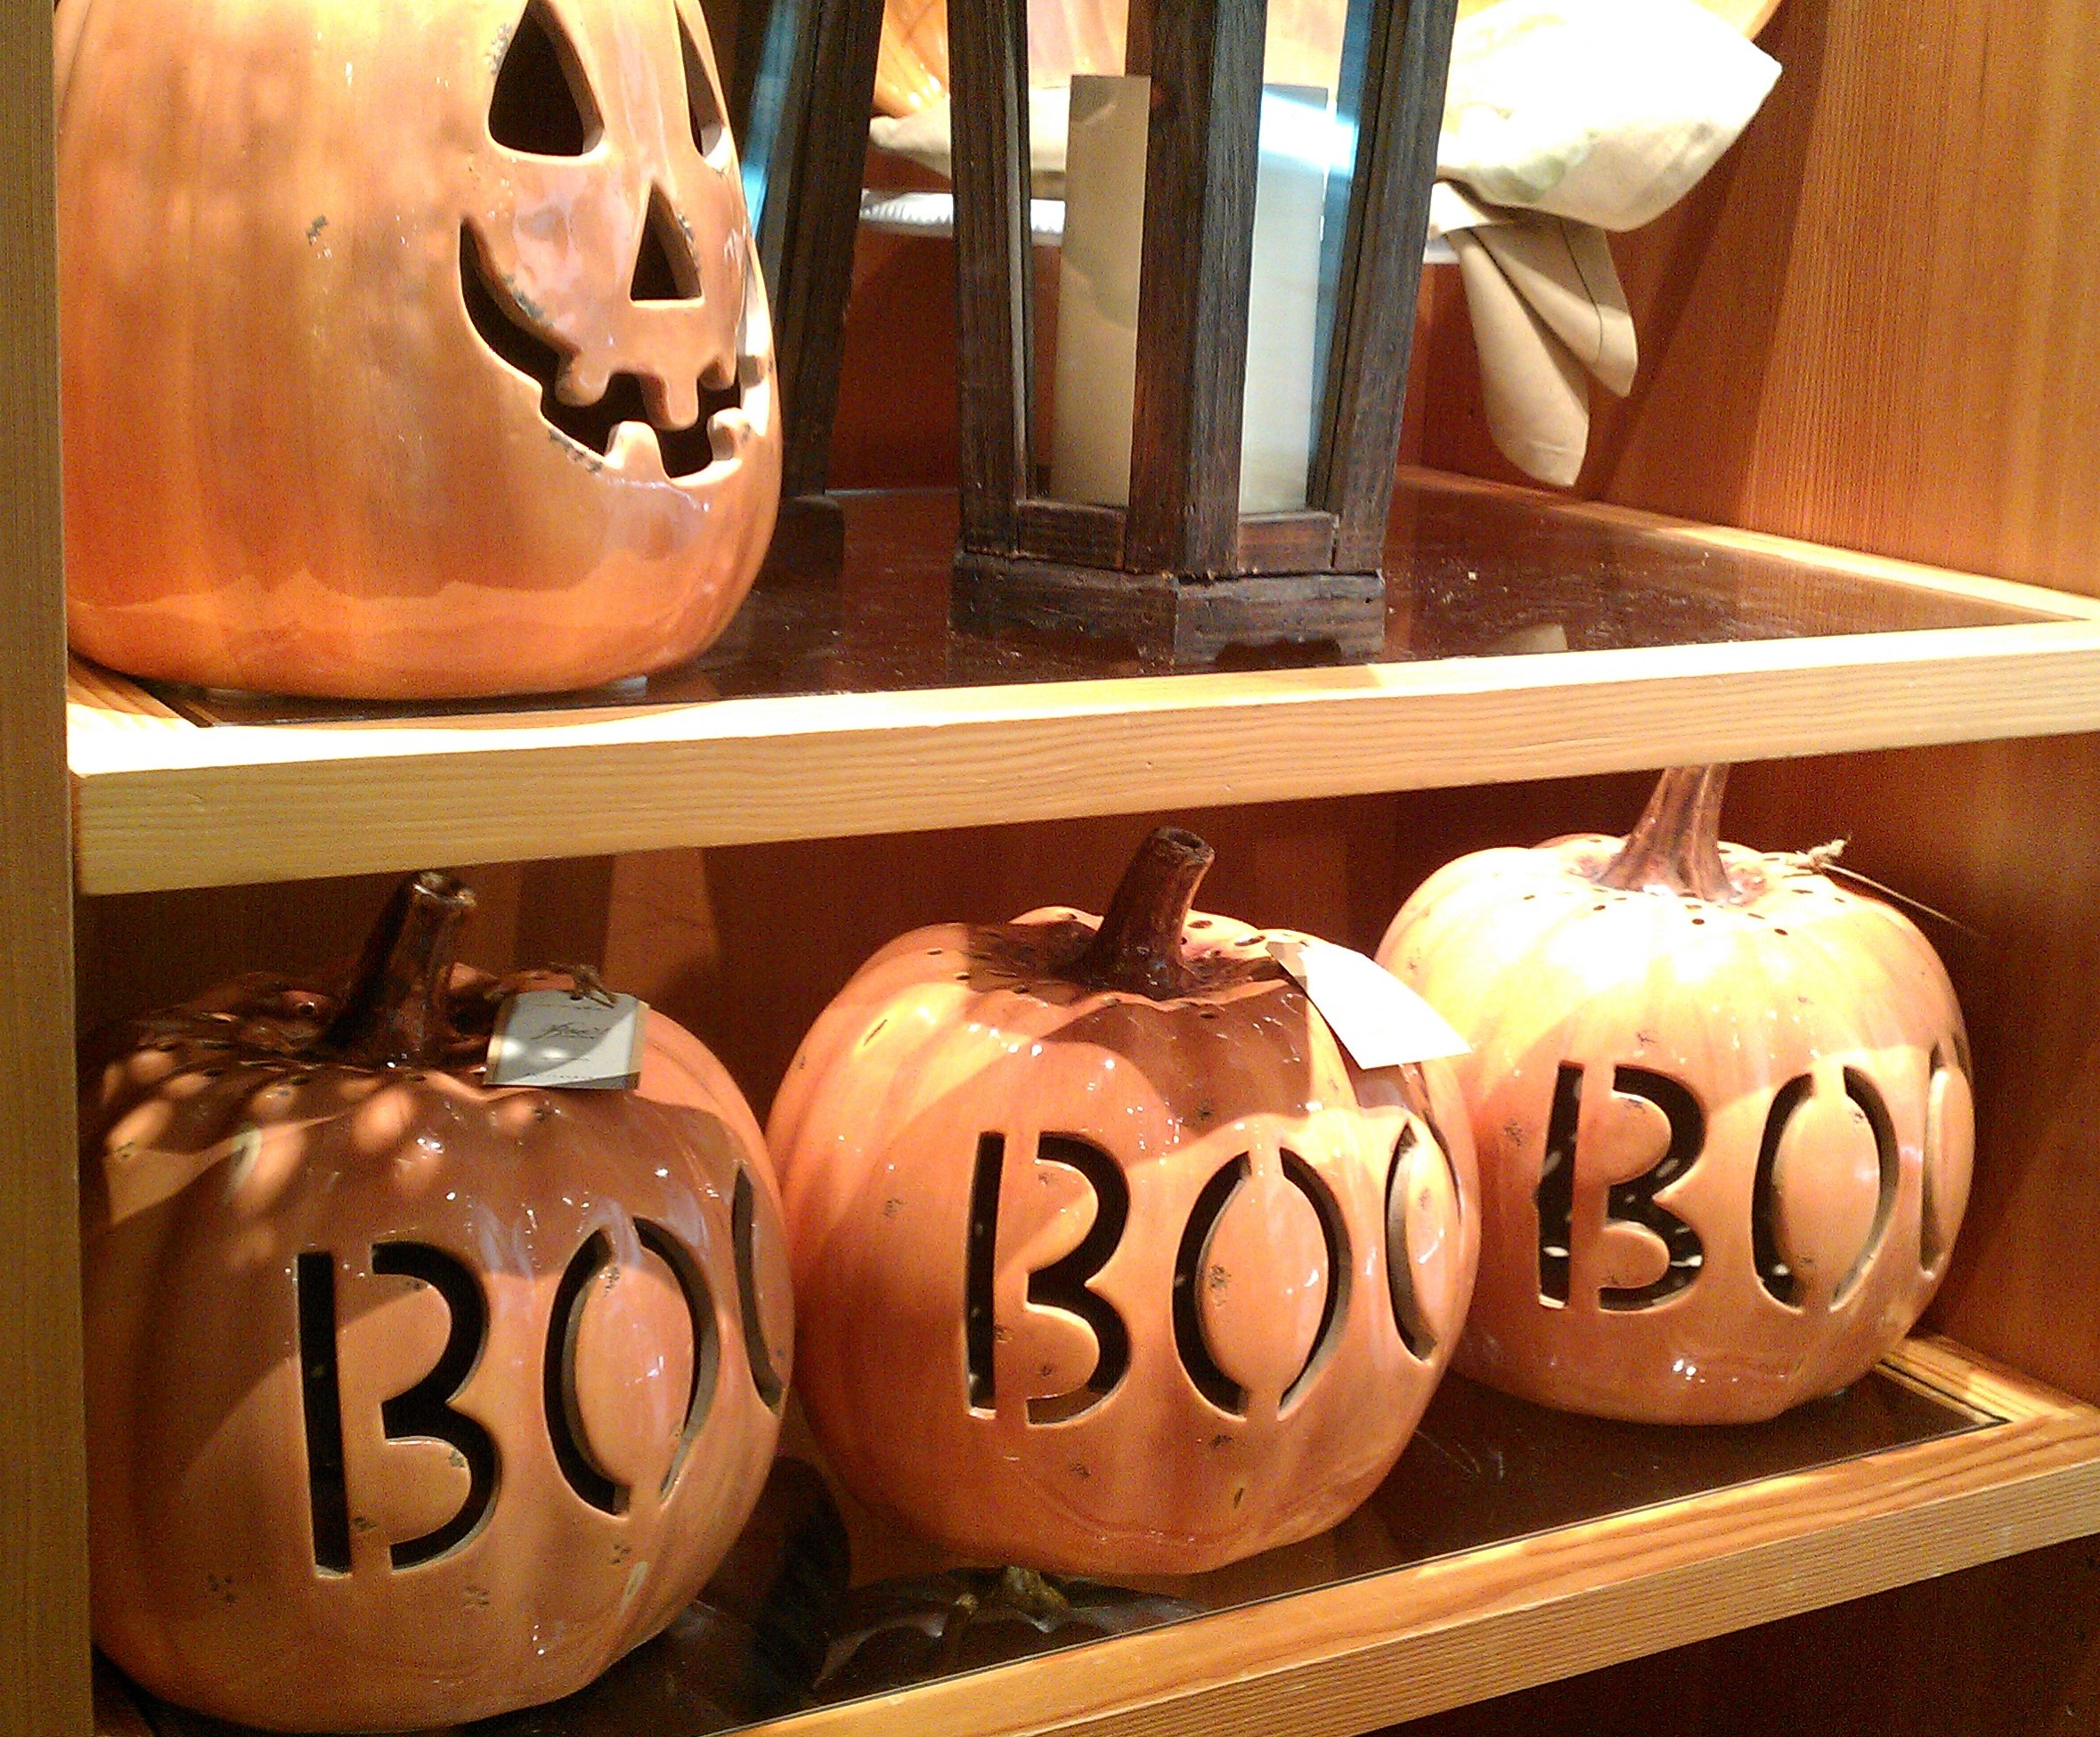
Inspiration Pumpkins from Pottery Barn
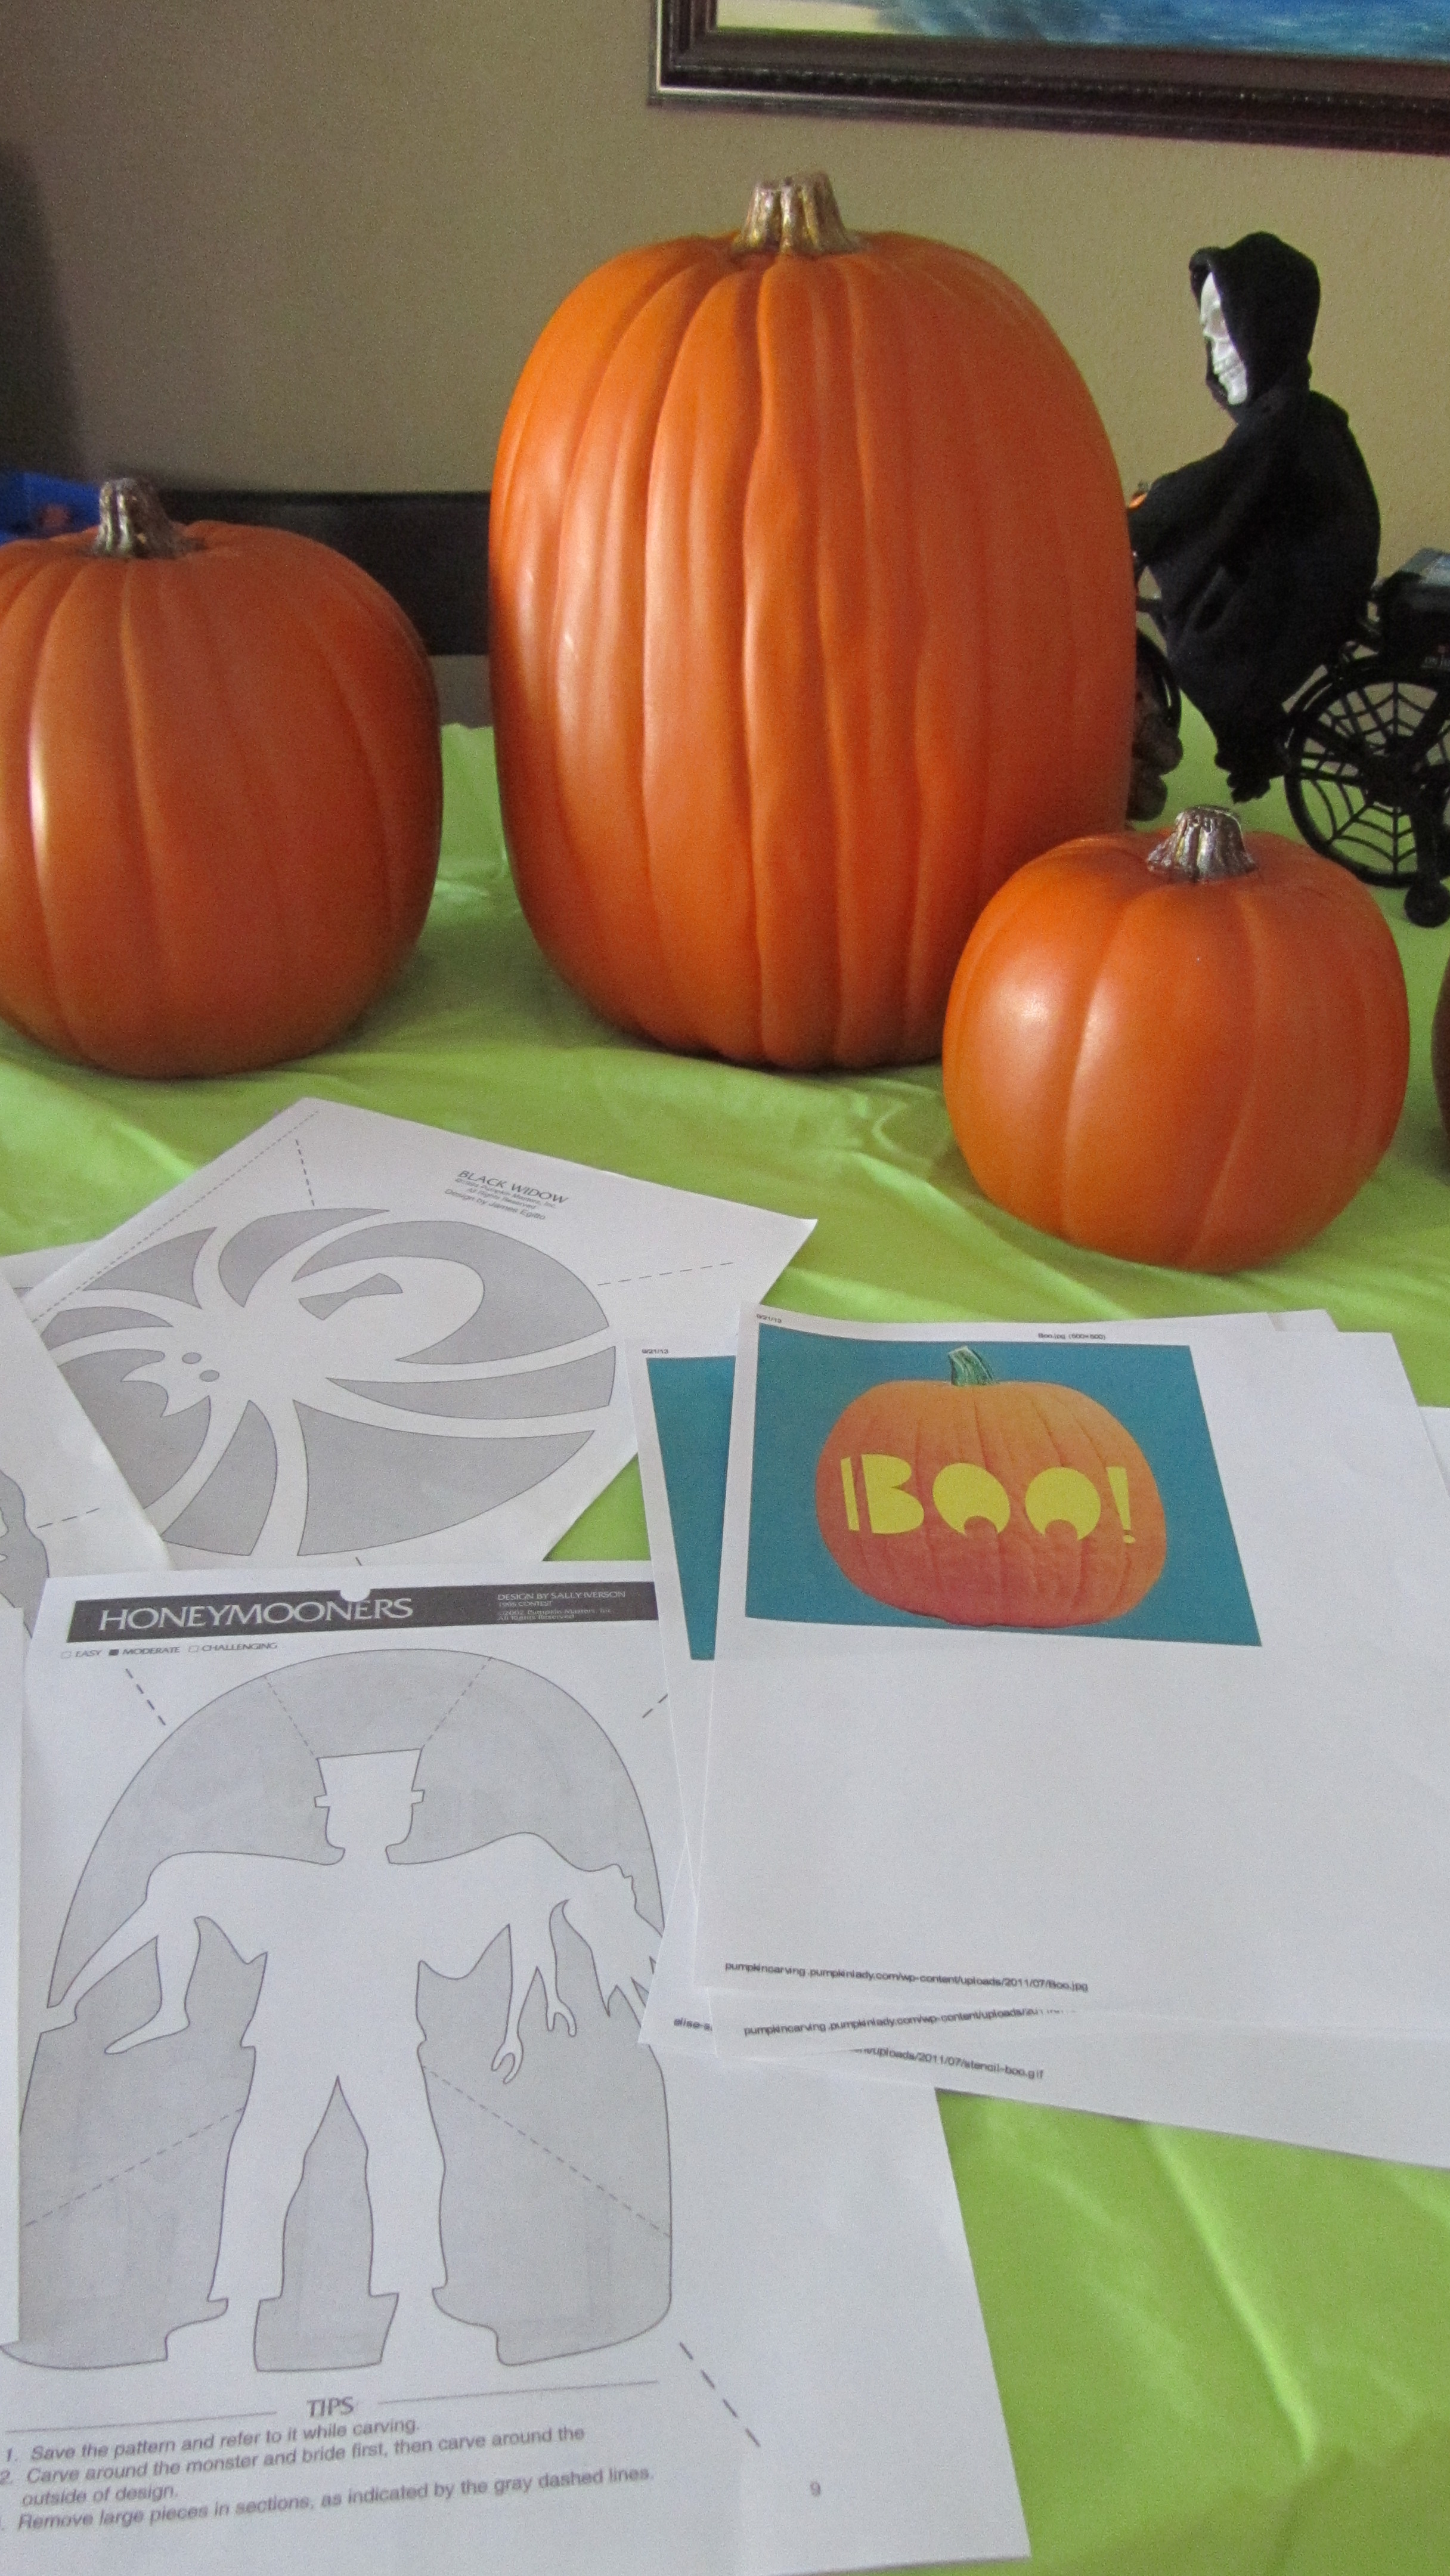
Step 1
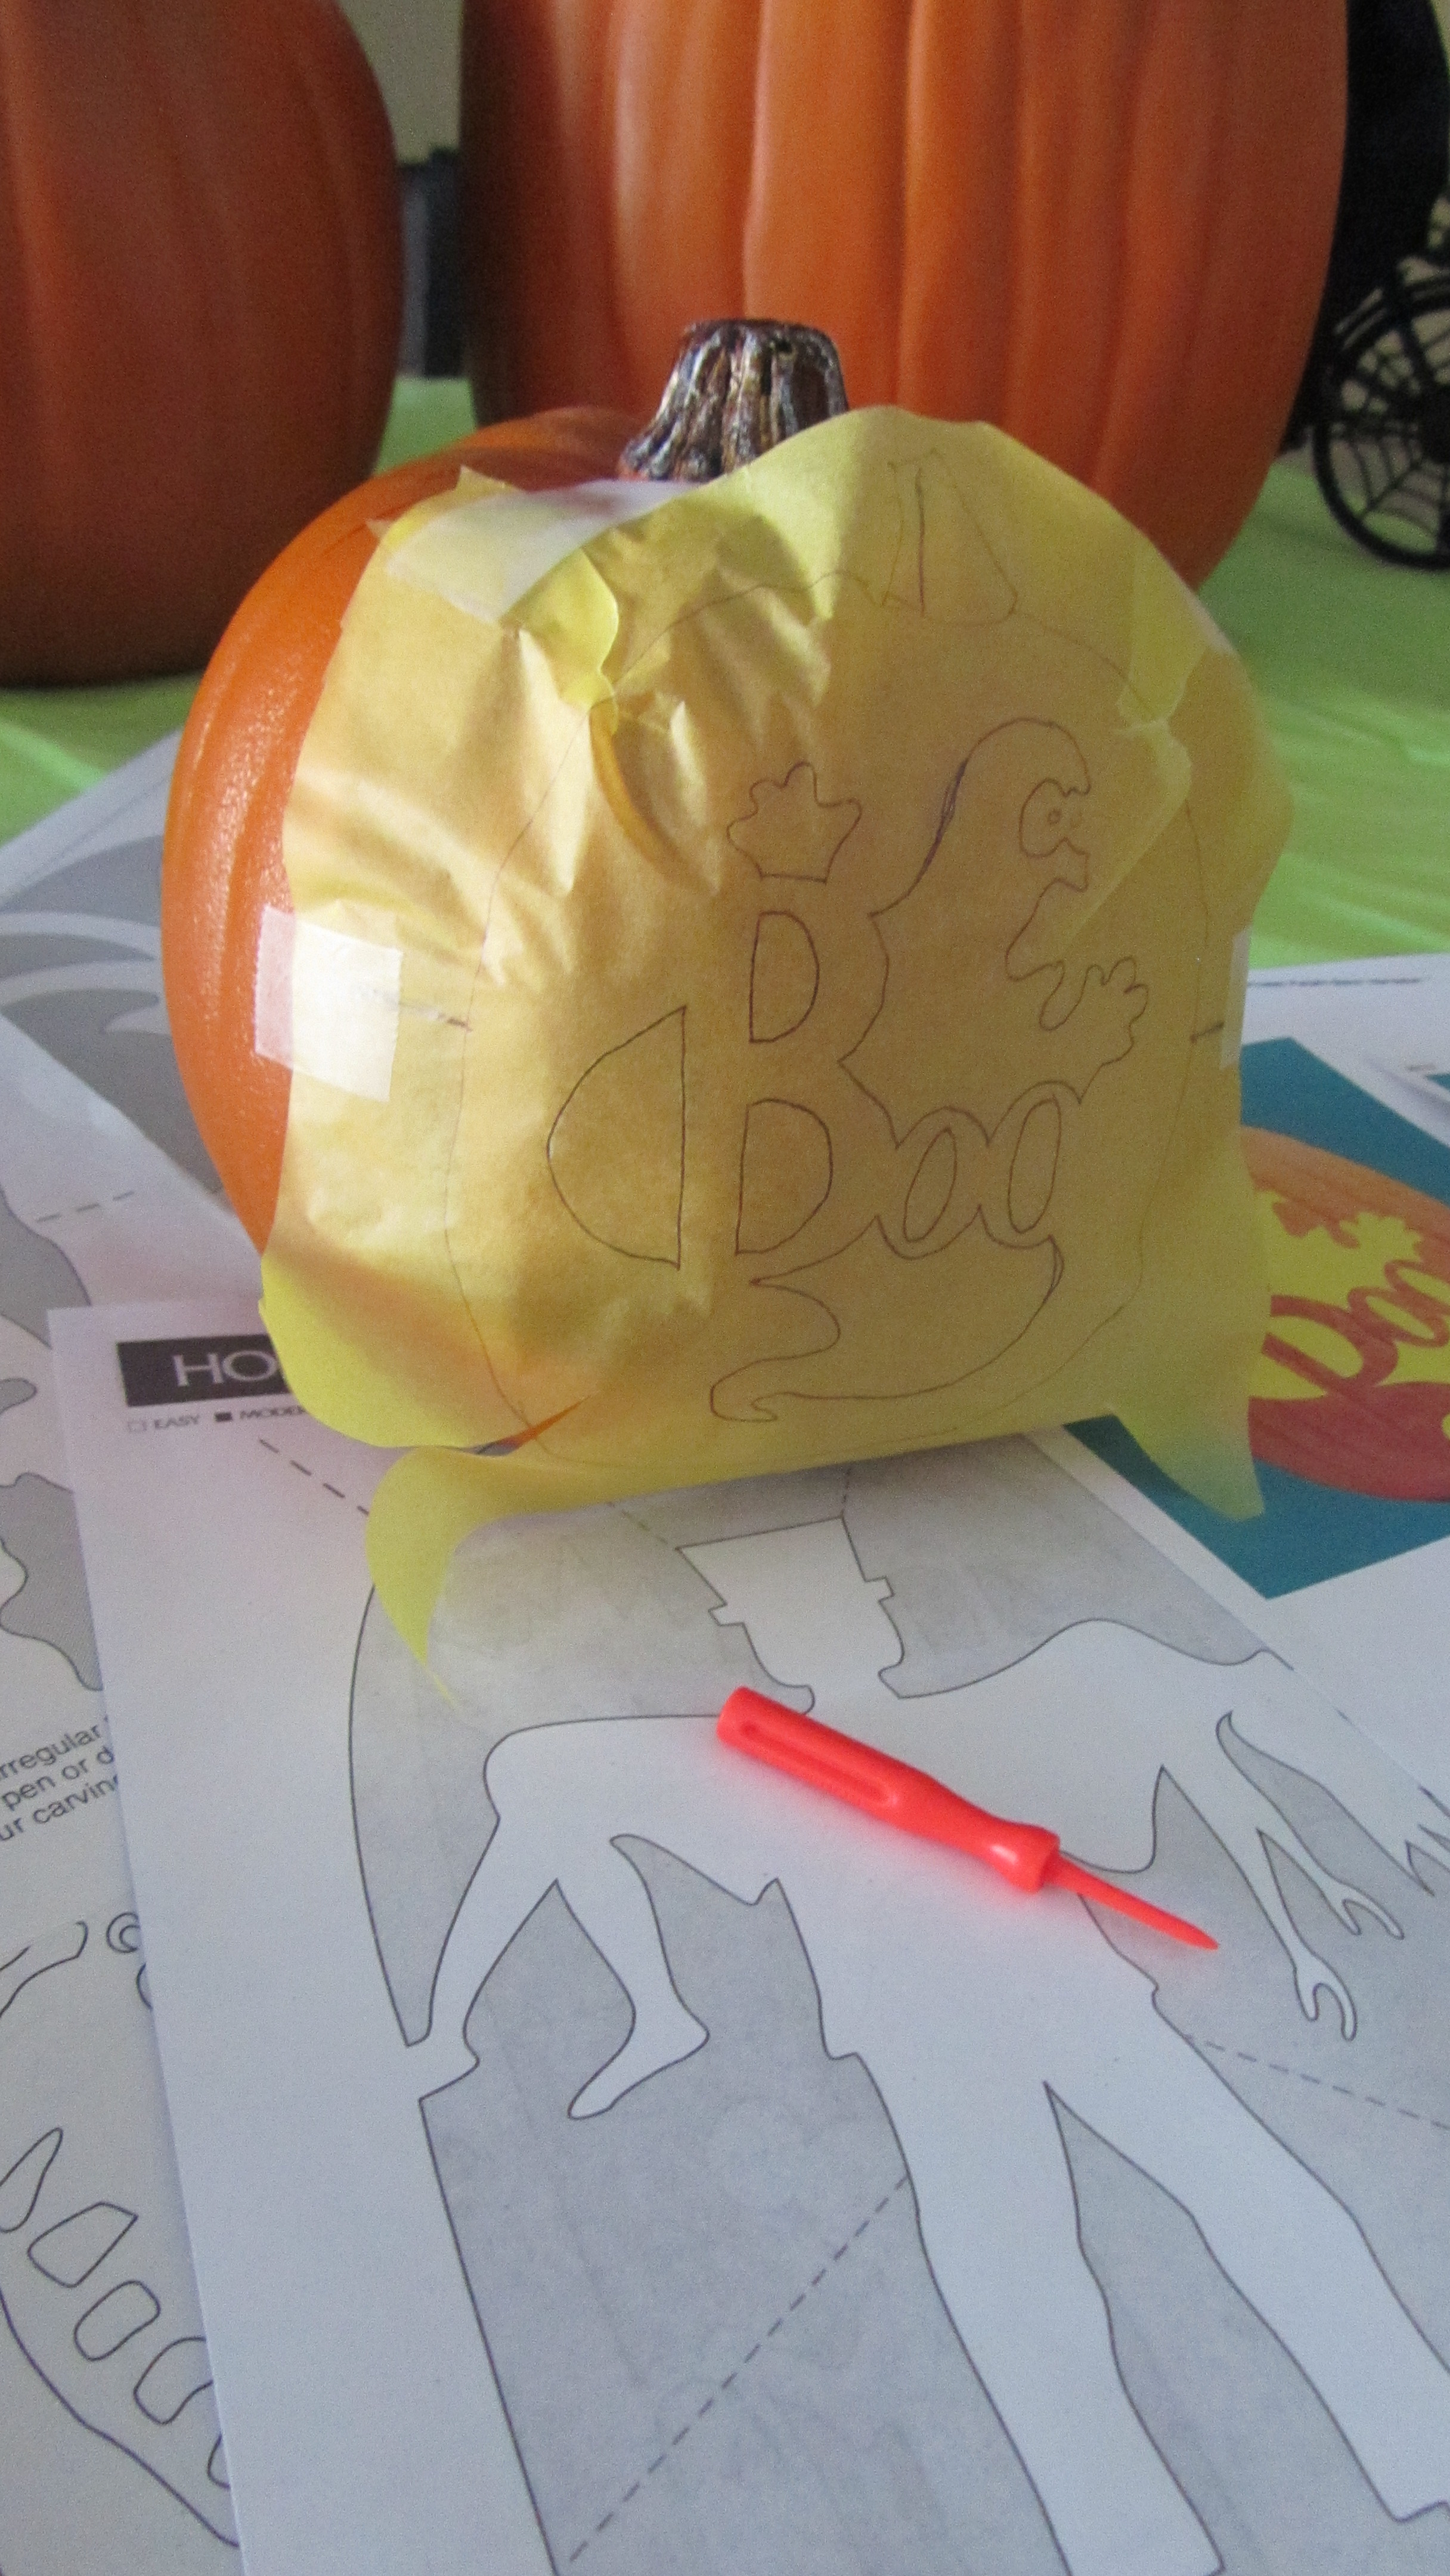
Step 1: Choose a pumpkin and which stencil design you would like to carve on it.
Step 2
Step 2
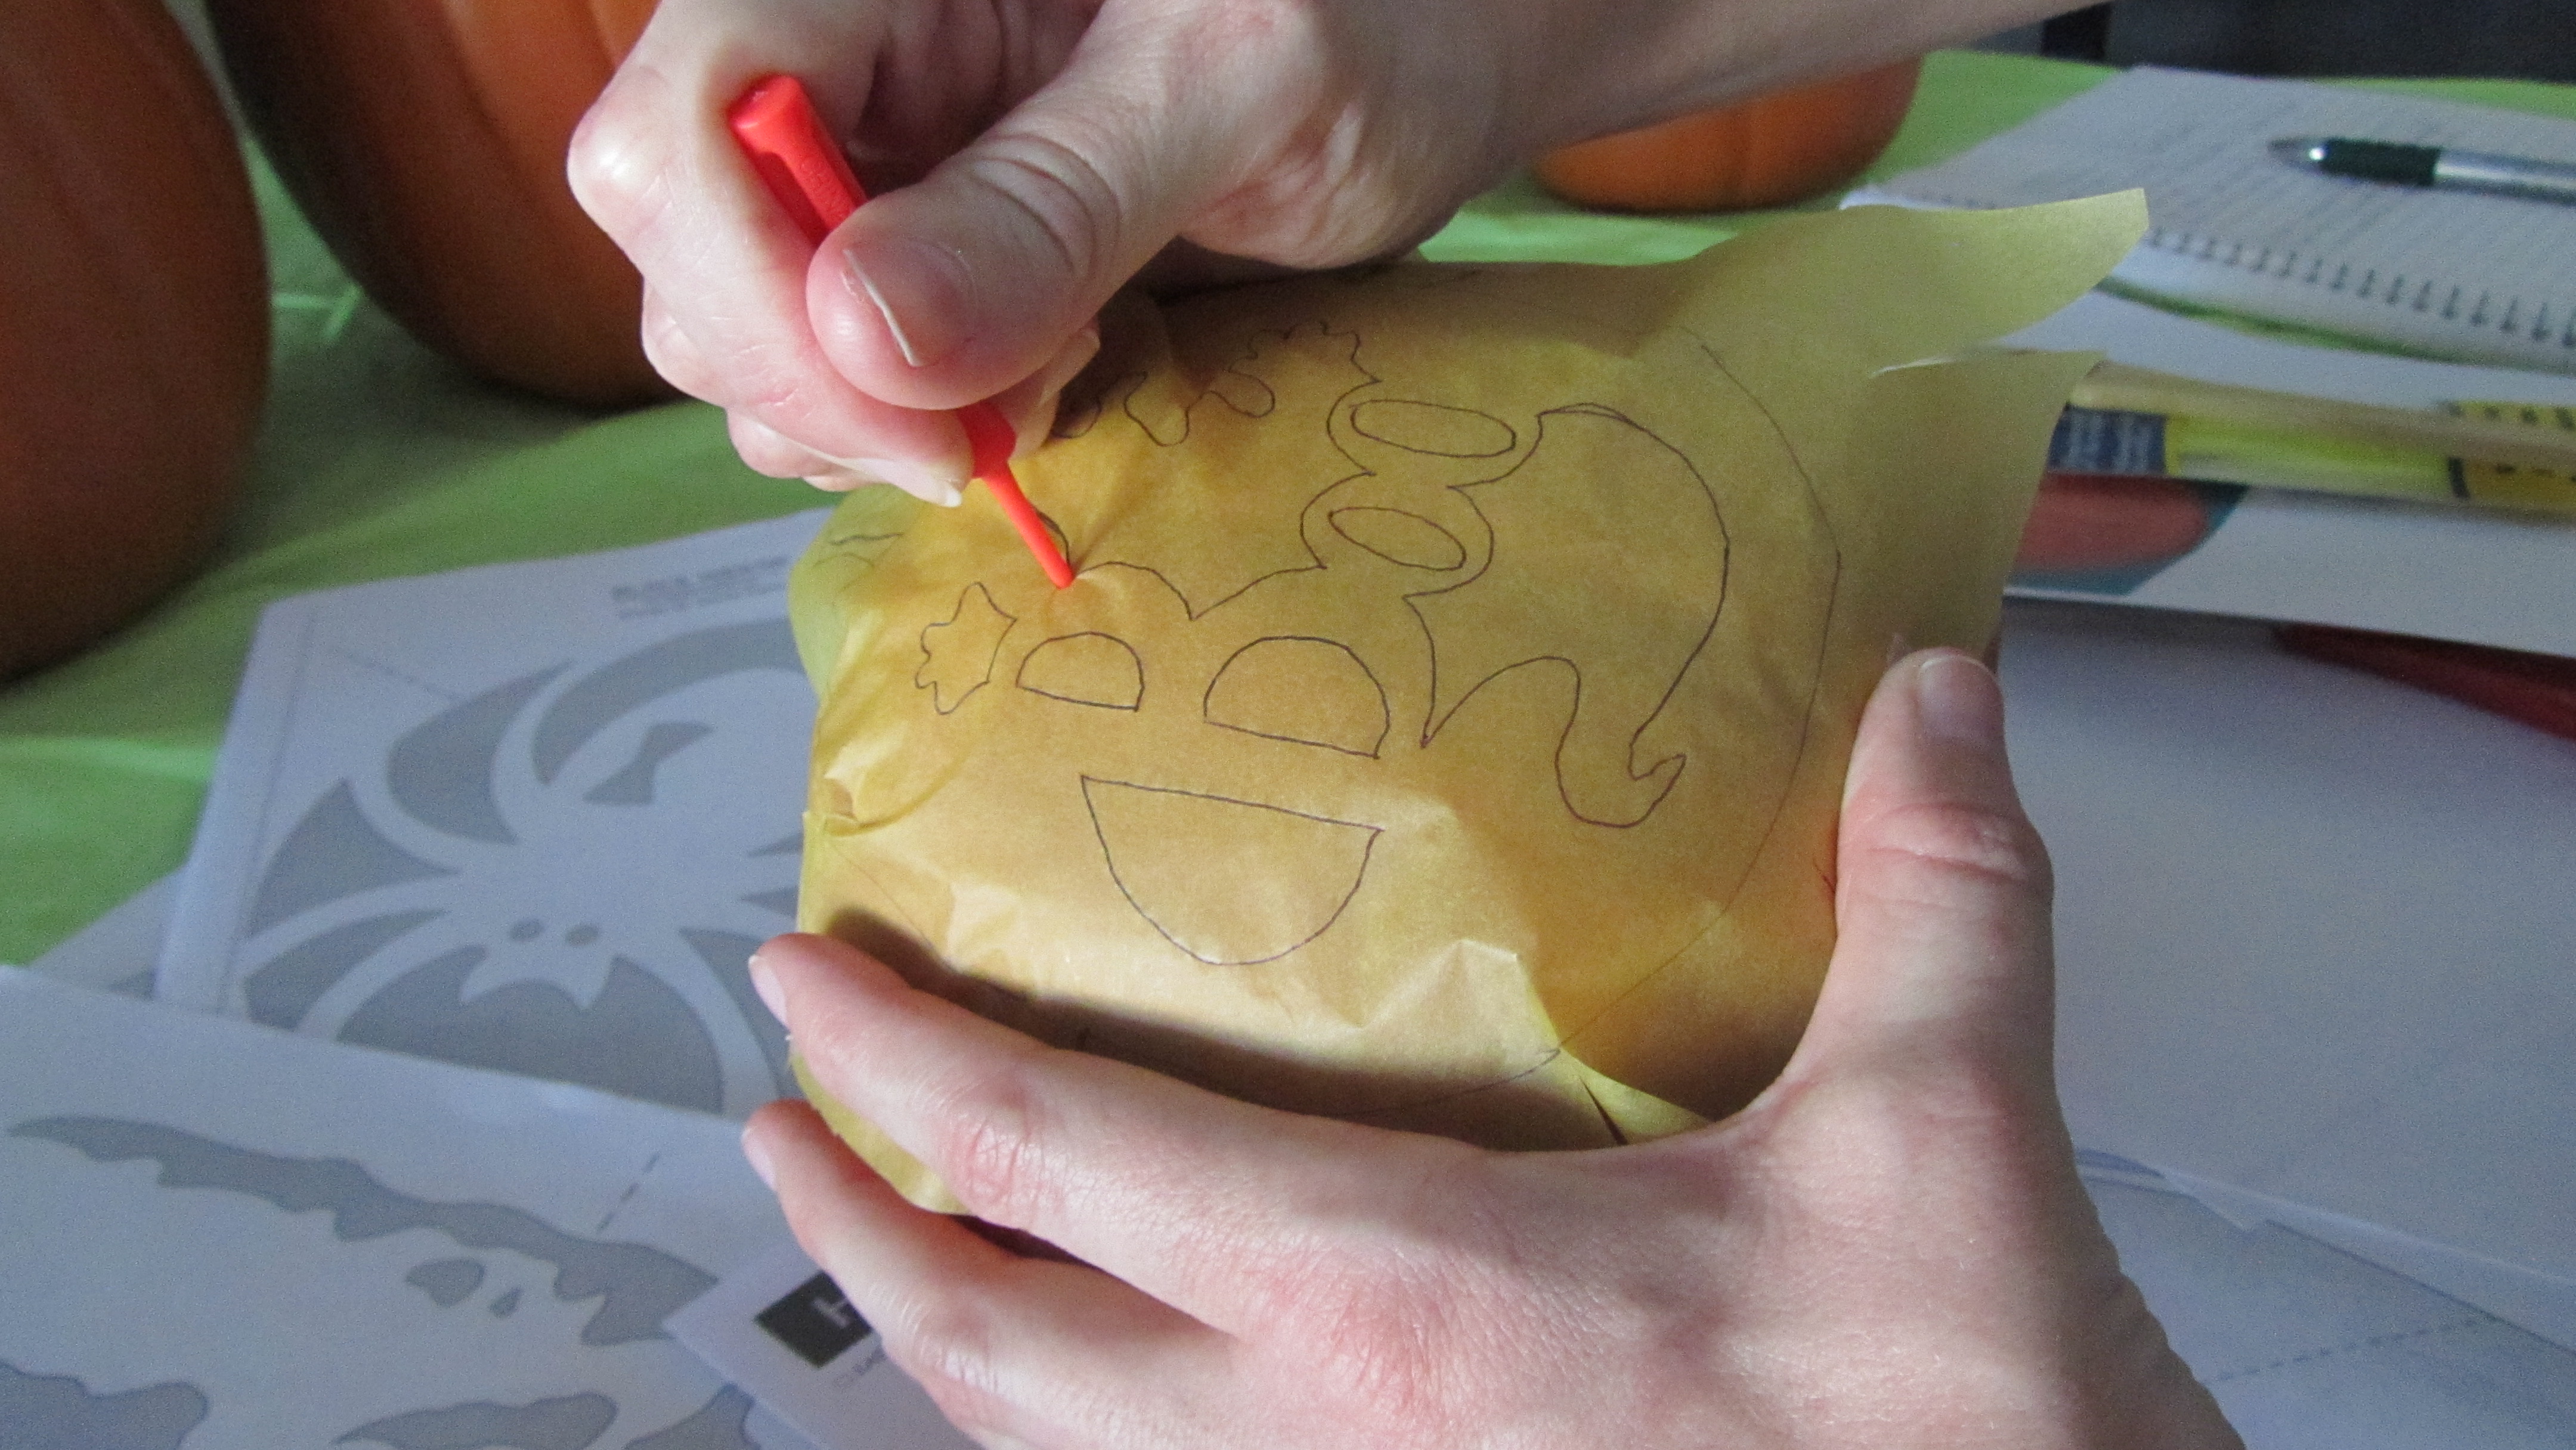
Step 2: Tape the stencil to the pumpkin. Then poke holes around the stencil using one of the carving tools or a pen to create the outline of the design that you will be cutting out.
Step 3
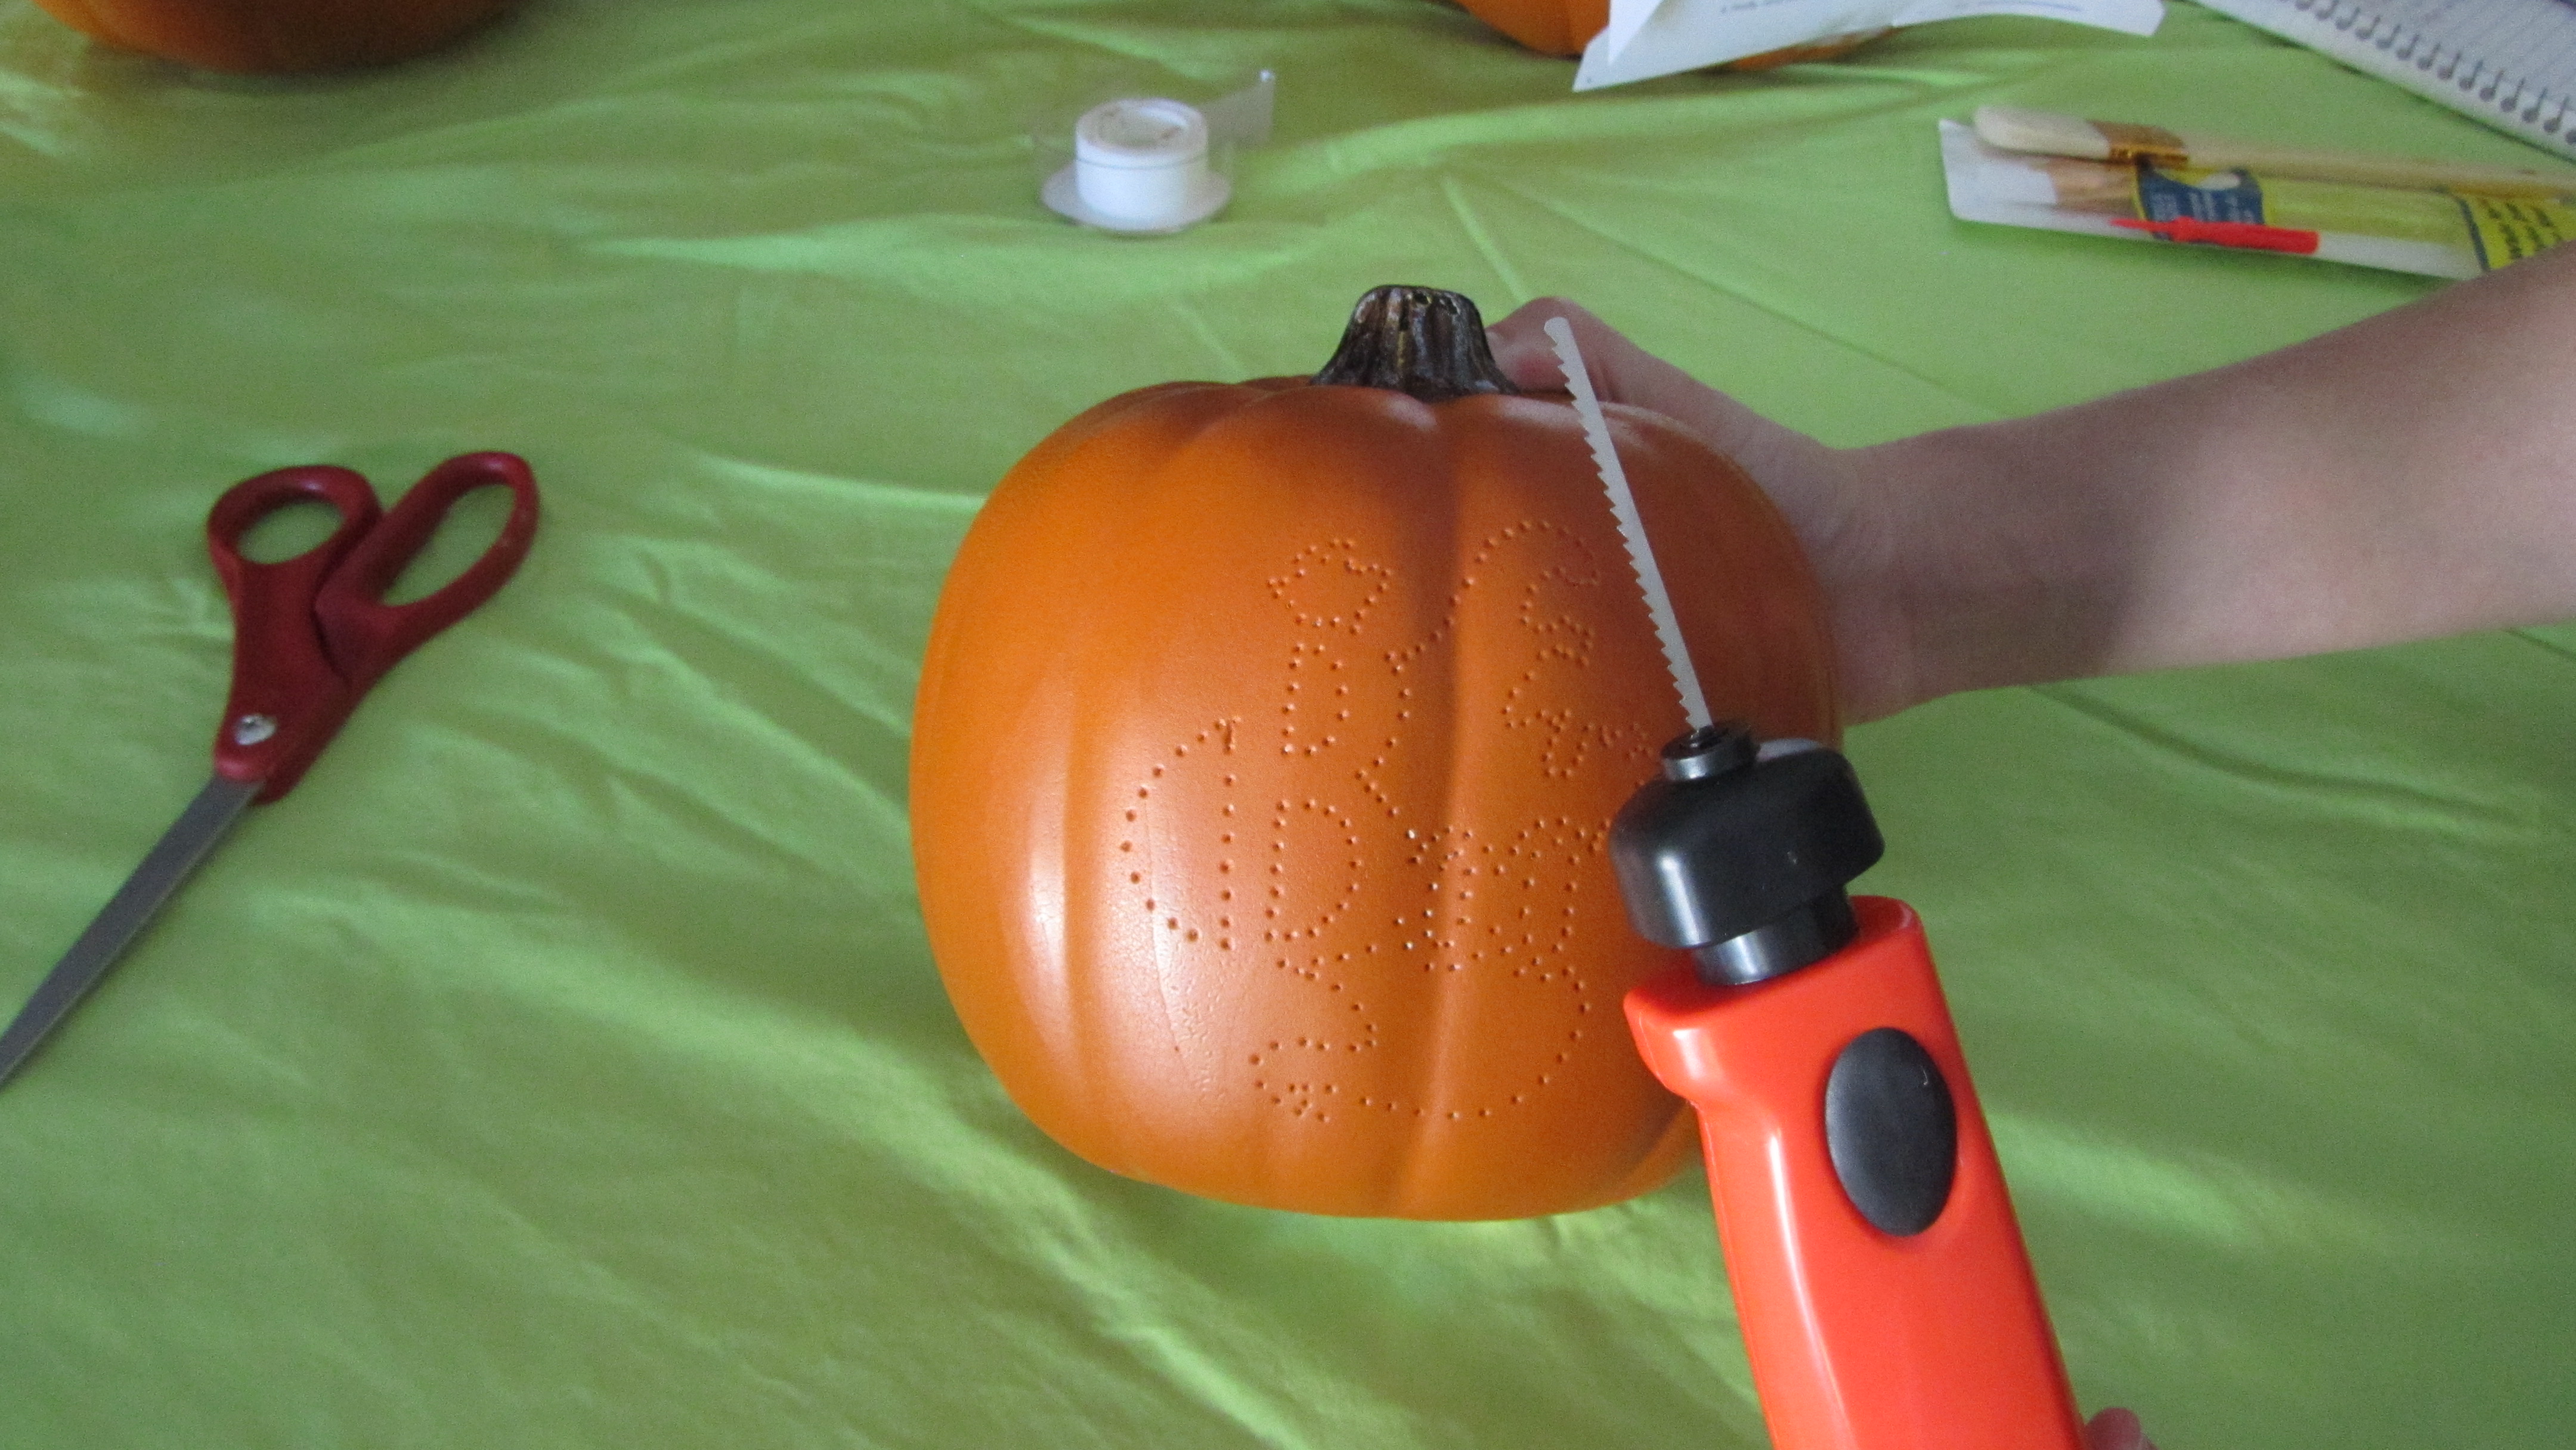
Step 3: Begin carving, refer back to your stencil as needed to make sure you are removing the correct portions of the pumpkin.
Step 4
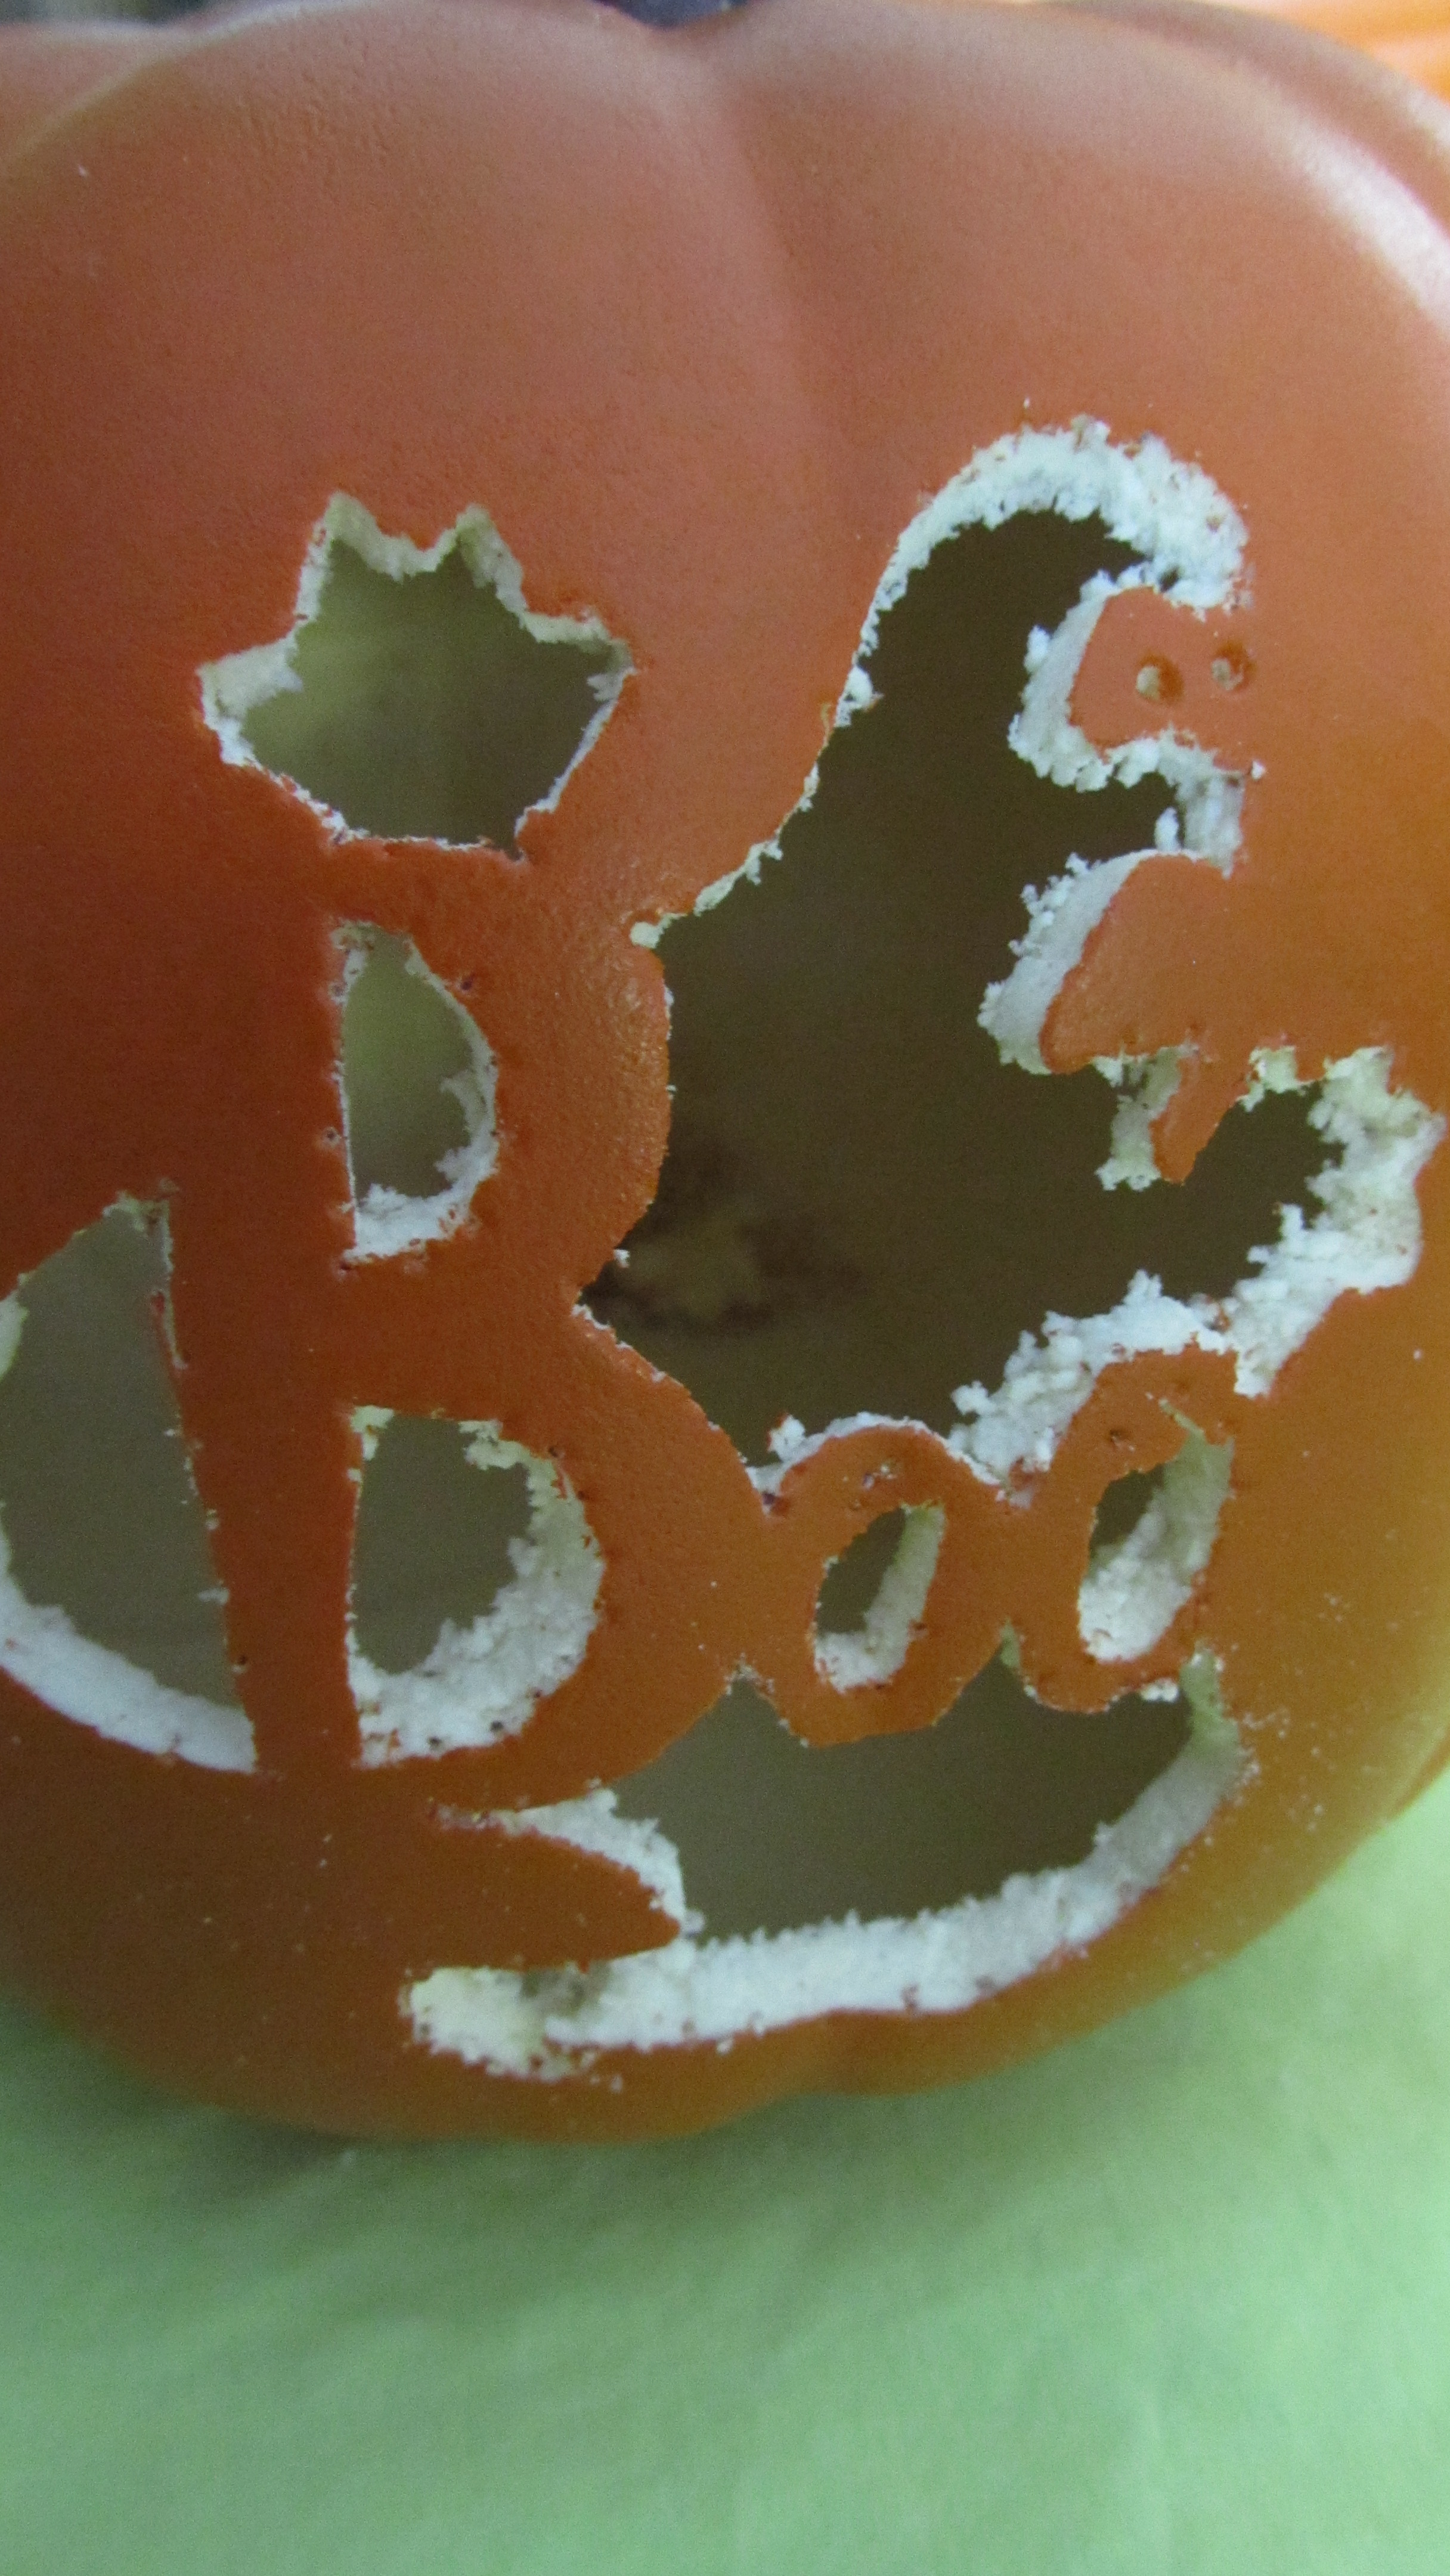
Step 4: Once carved you may need to go back over some of the edges to clean them up a little and make them smoother. This can be easily fixed by rubbing a little sandpaper over the edges.
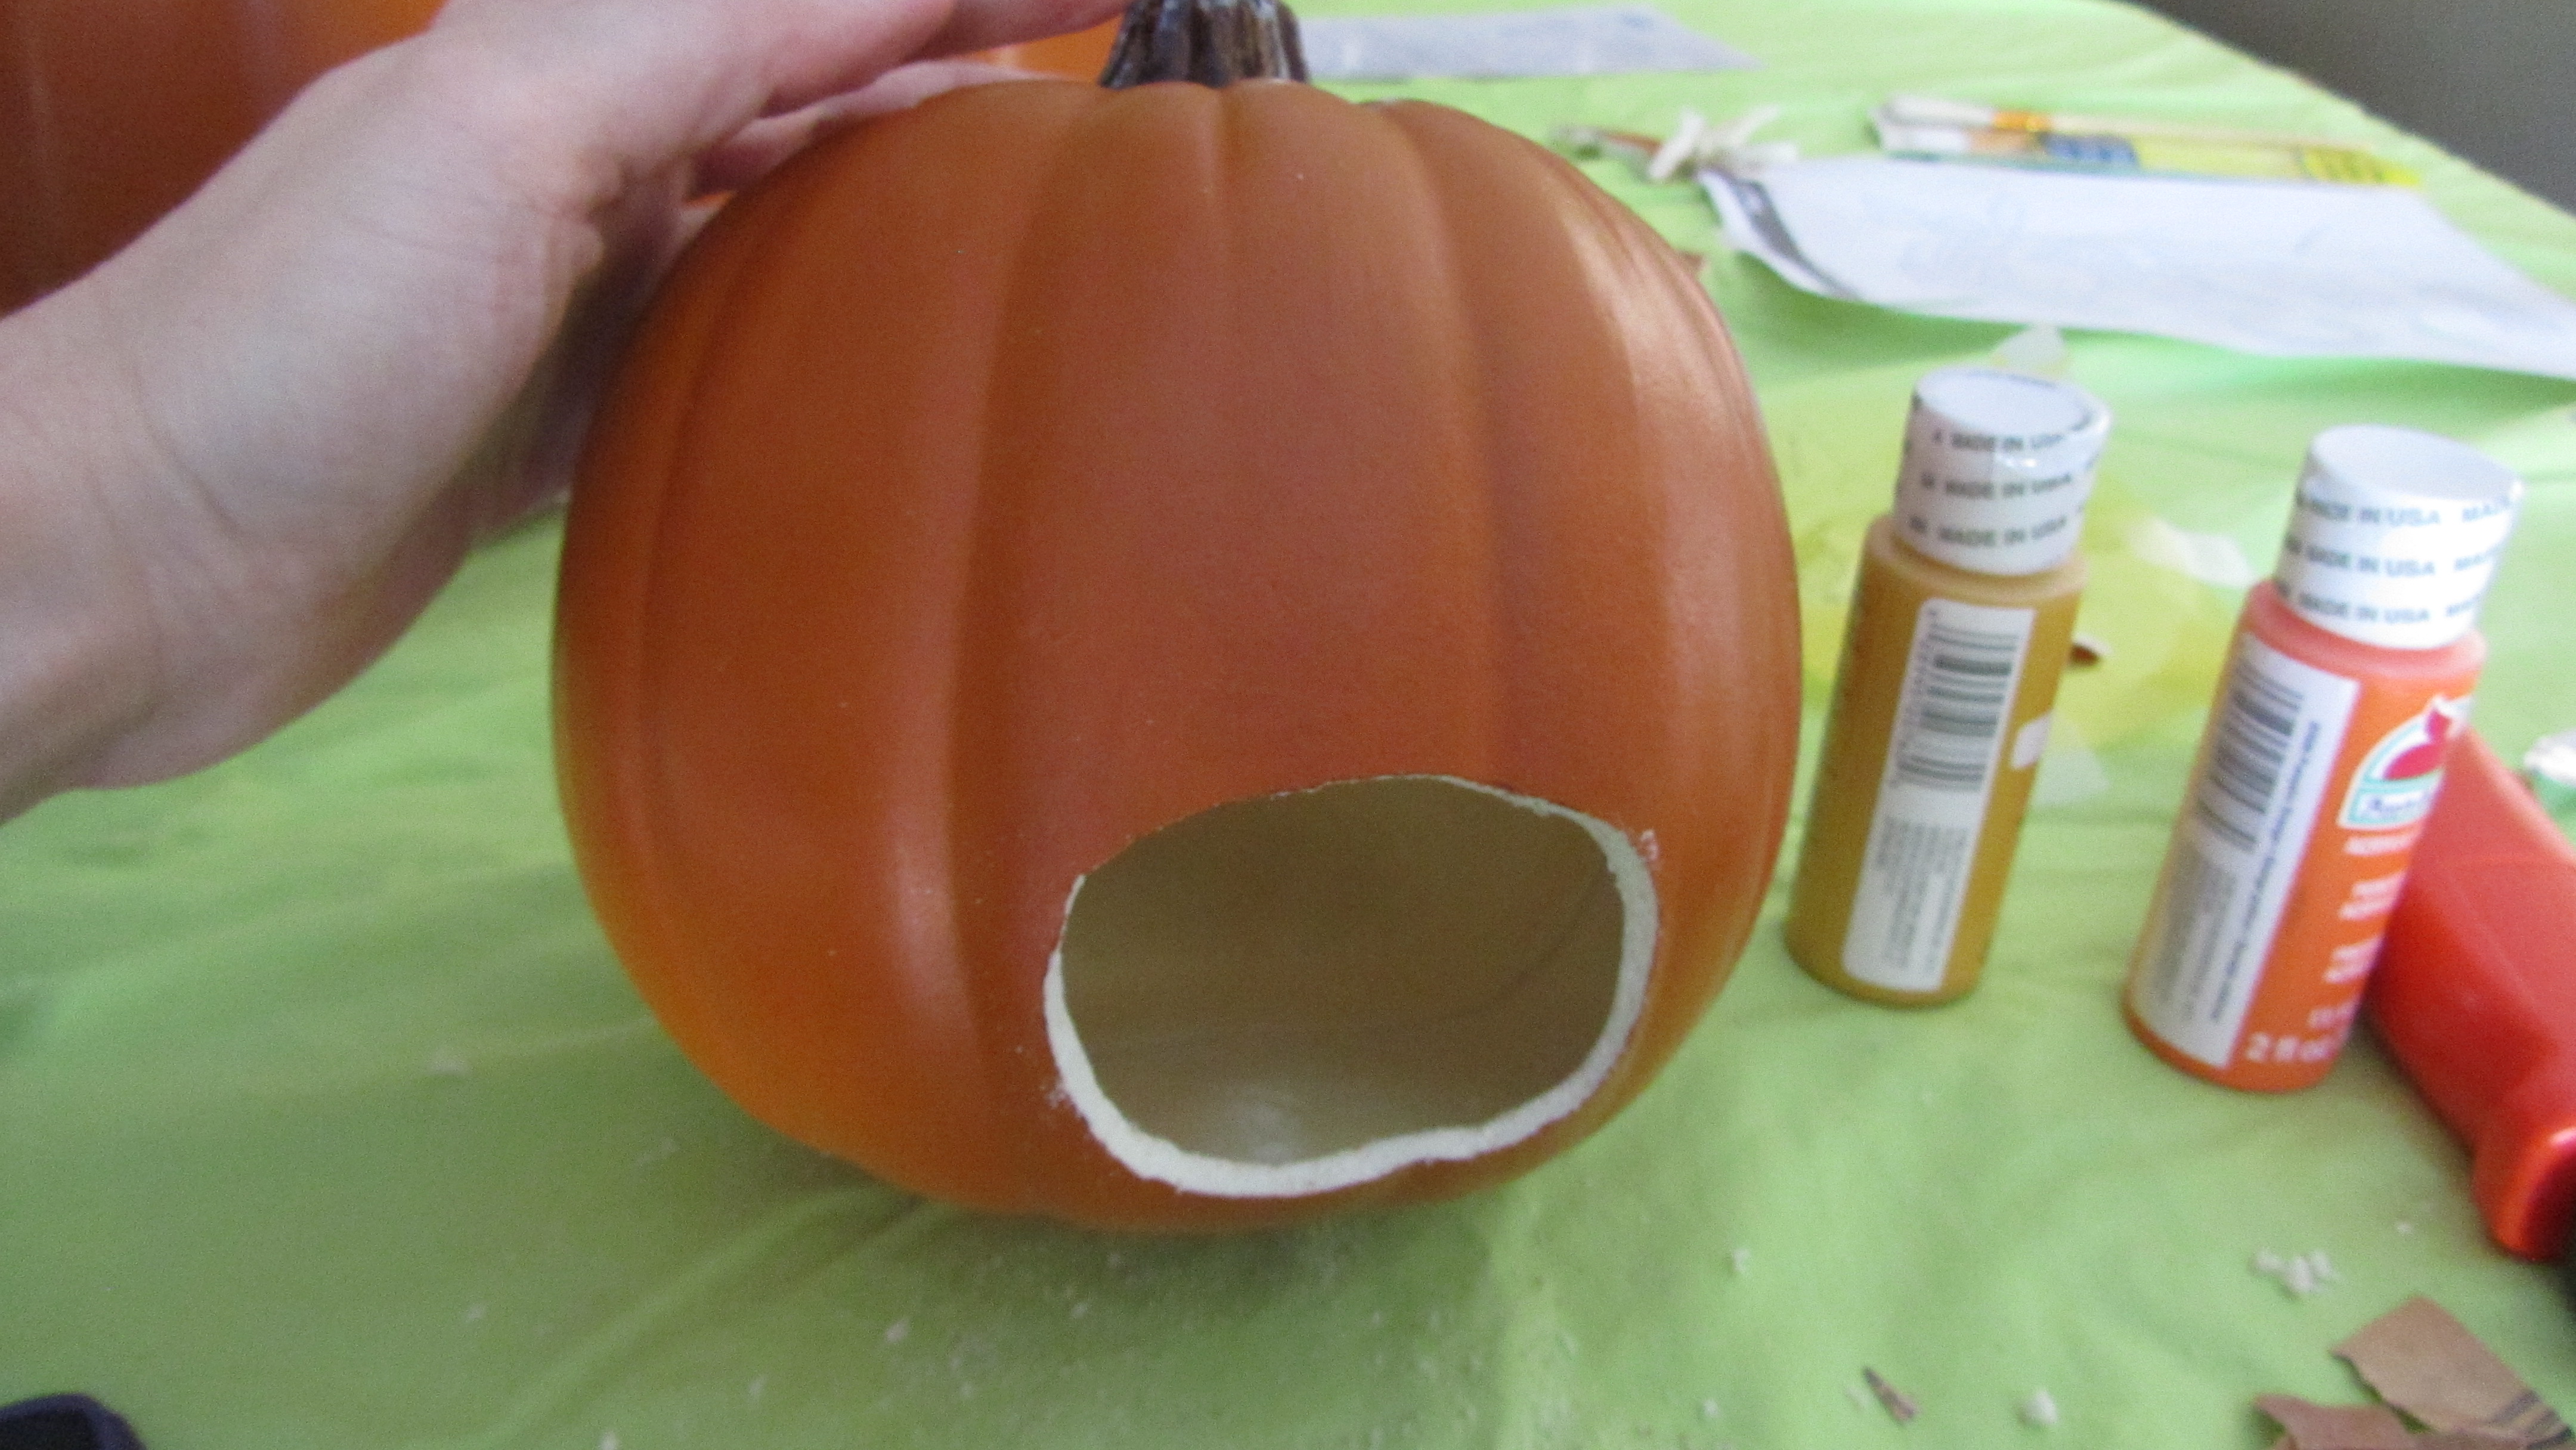
Step 5
Step 5: Carve a small hole on the back side of the pumpkin large enough to fit whichever light source you have chosen to illuminate the pumpkin with.
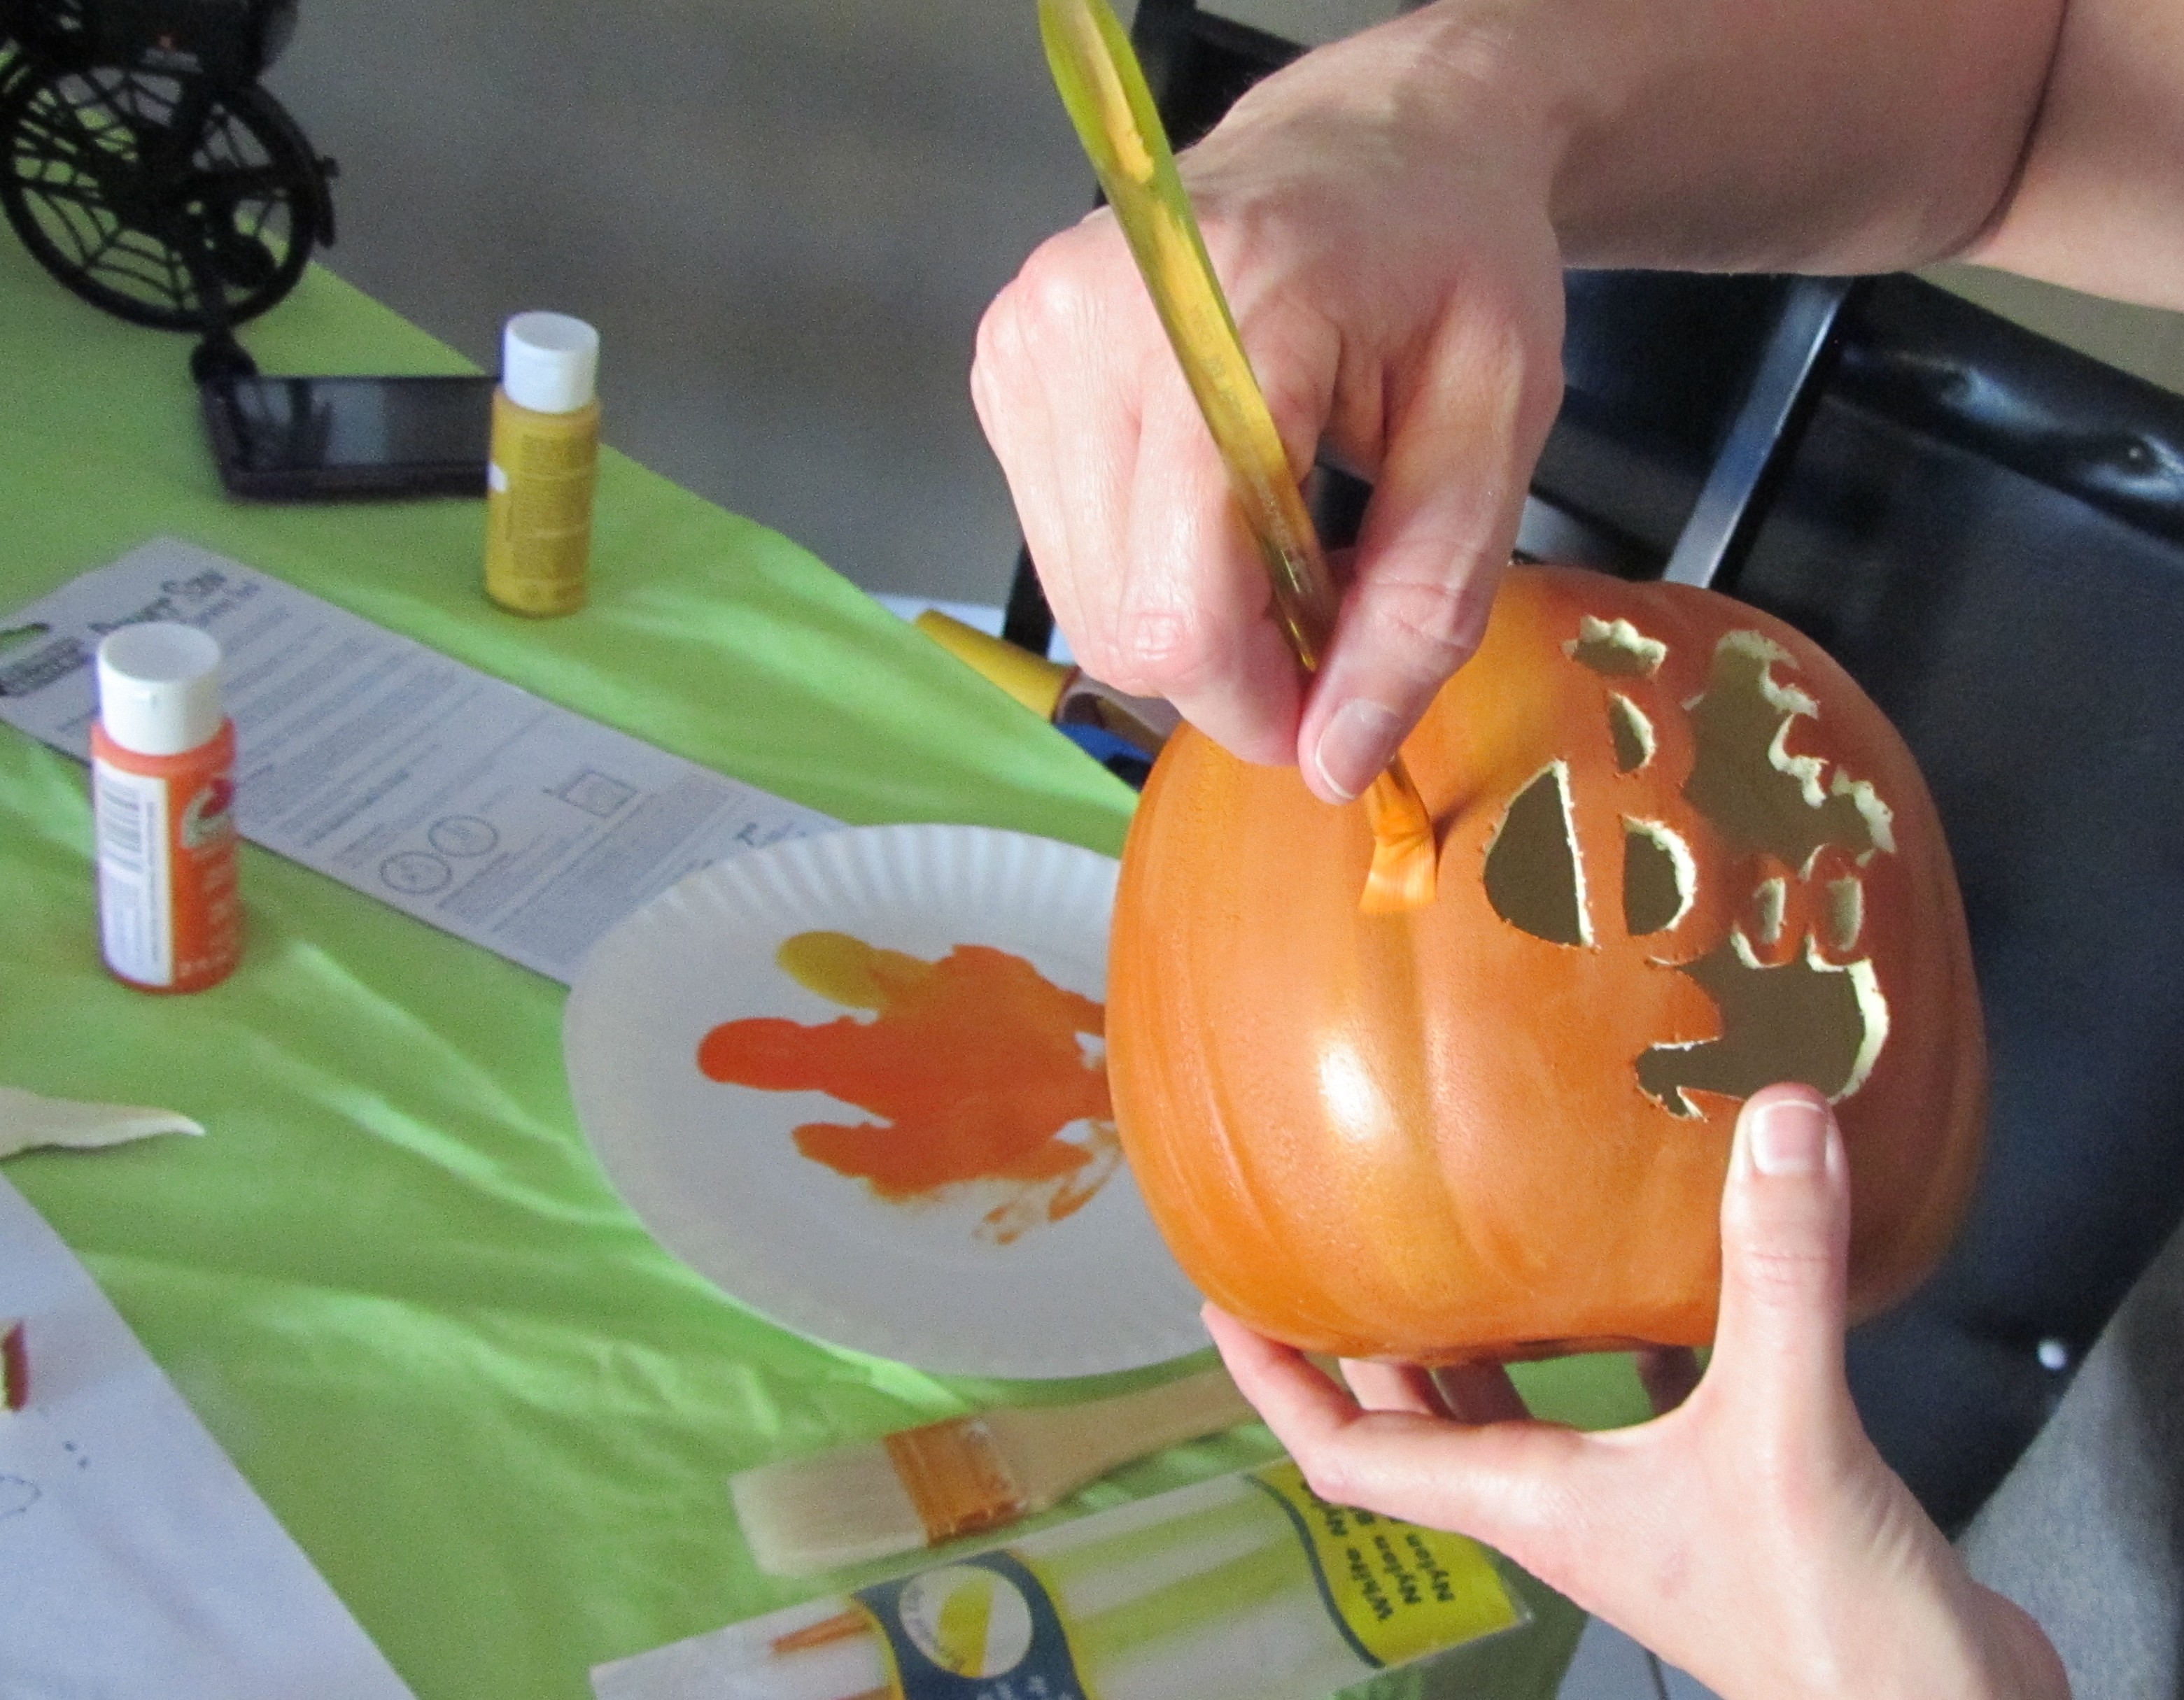
Step 6
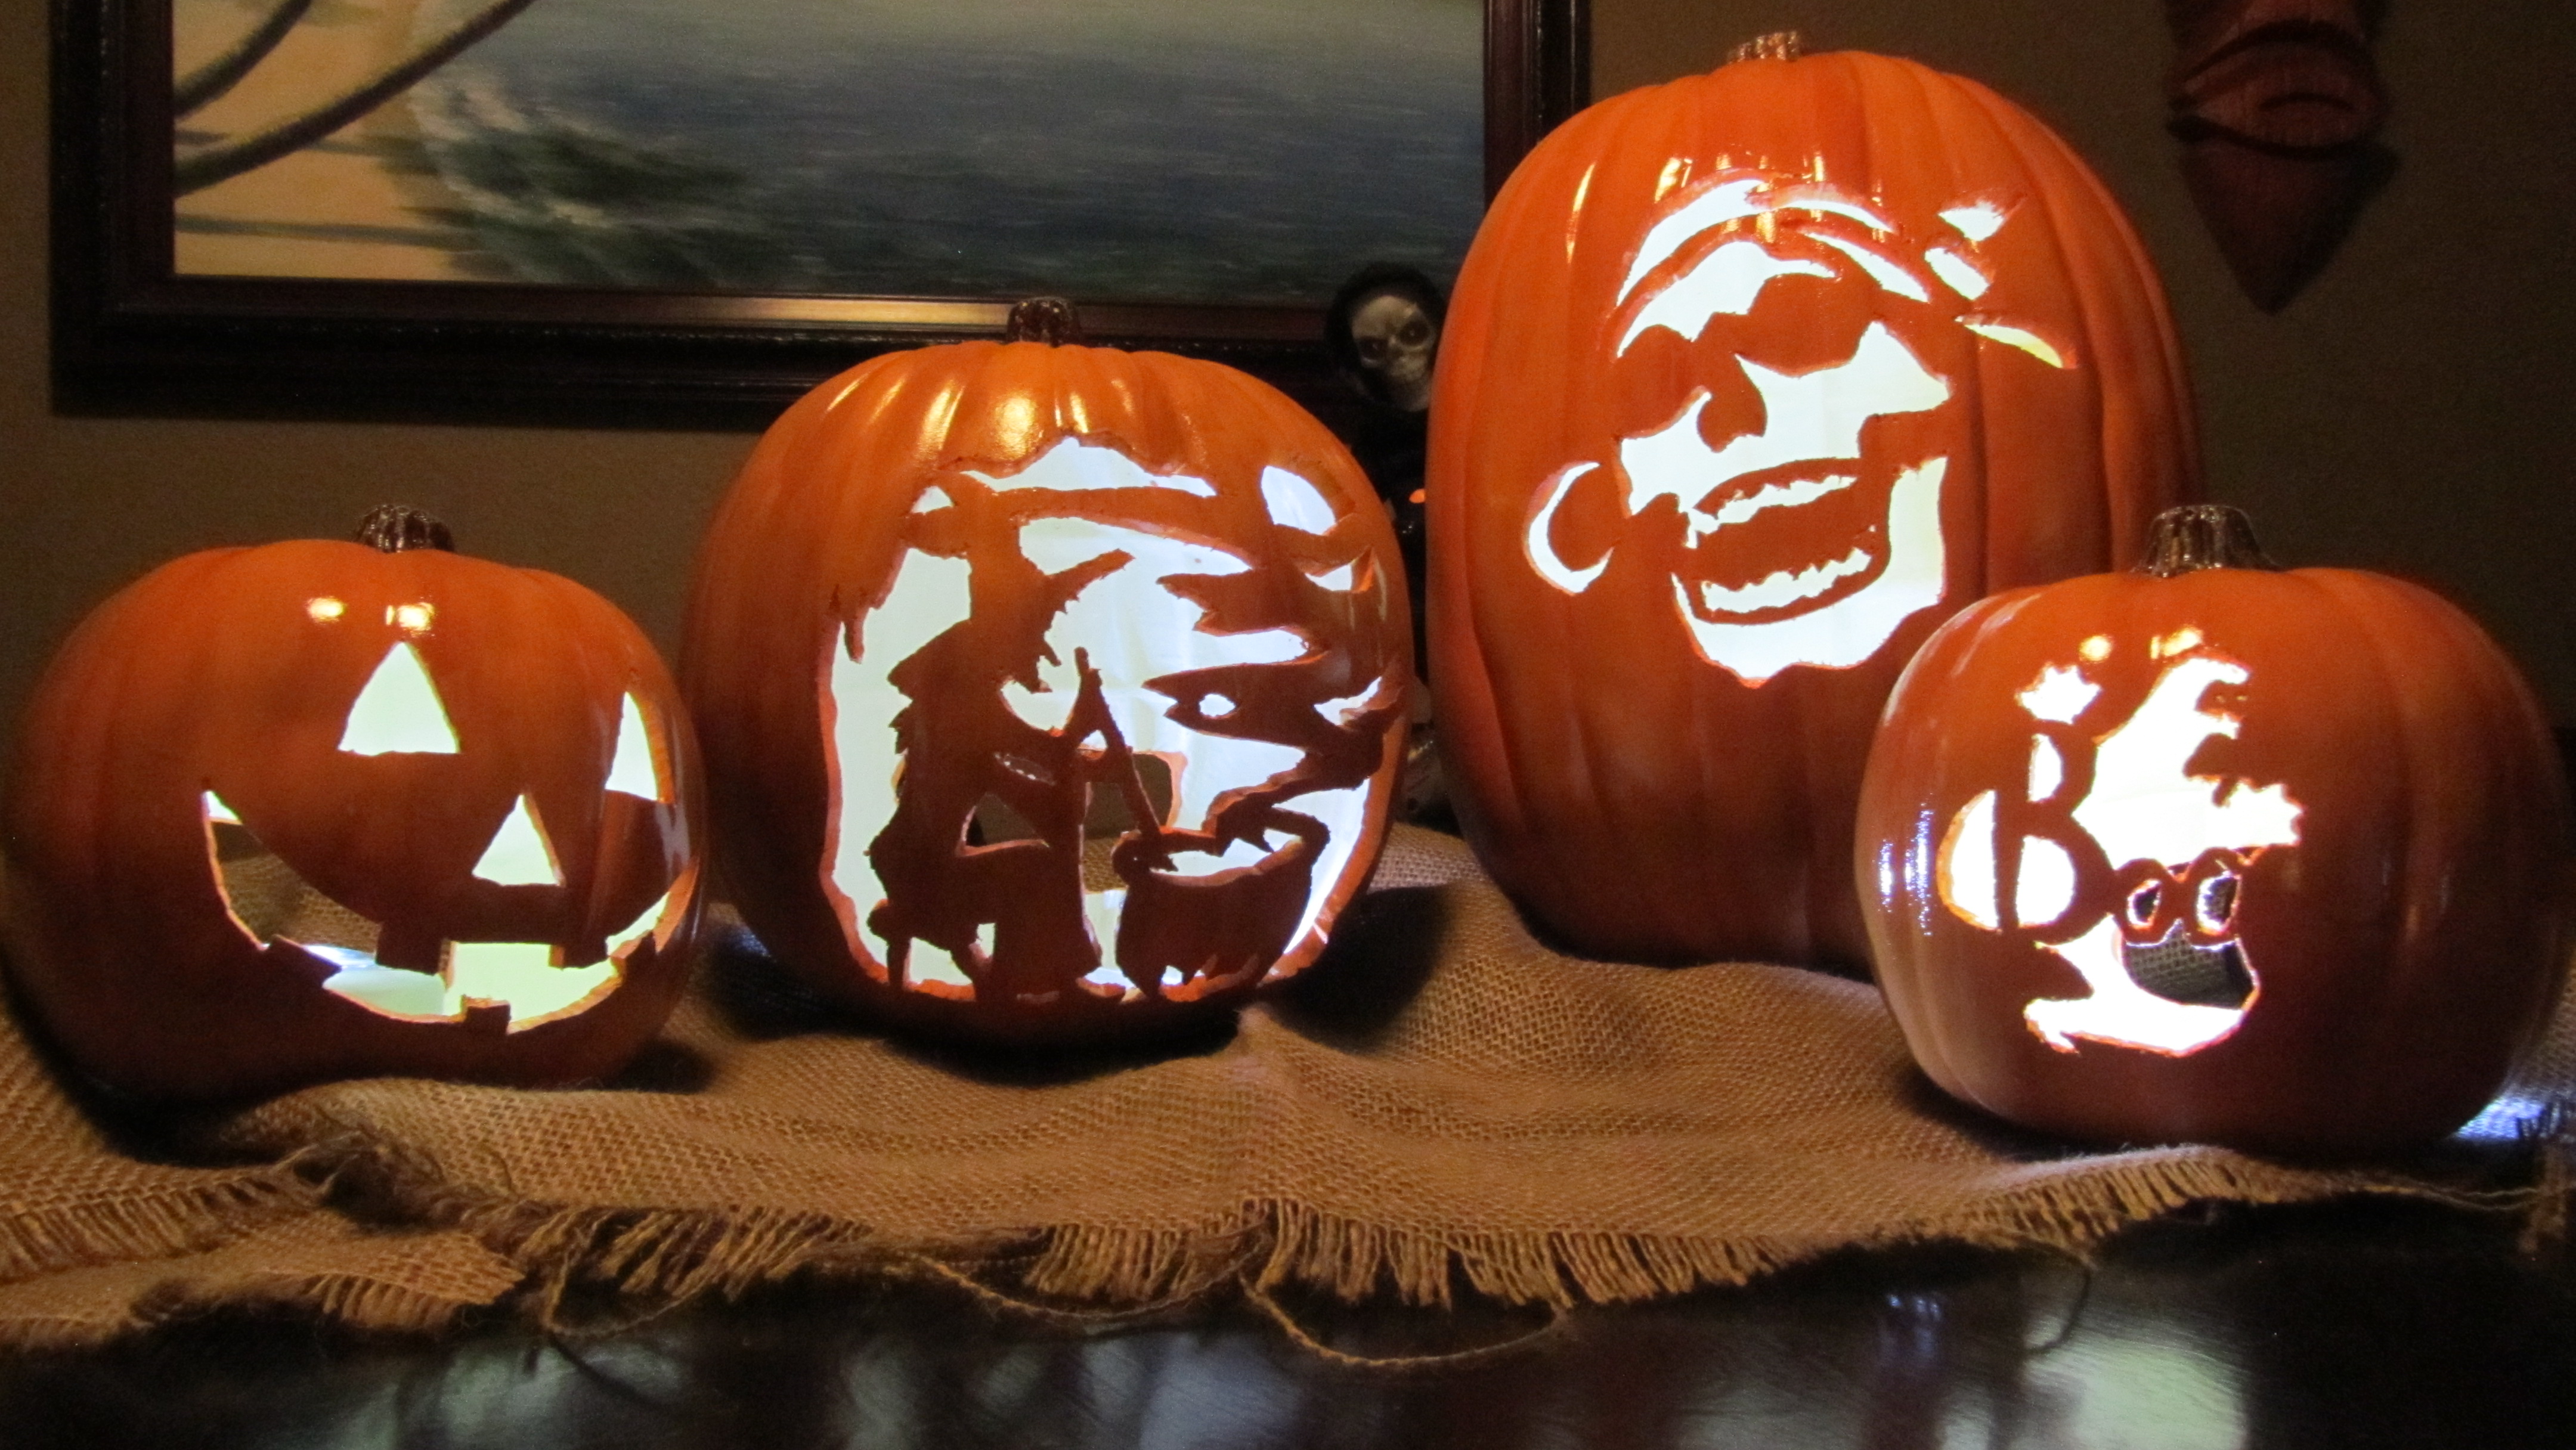
Step 6 Completed – You can see the difference between the hand painted pumpkin and the original finish of the craft pumpkin
Step 6: Now it is time to give the pumpkins the hand painted look of the ceramic ones from our inspiration image. To do this we mixed the two paint colors we had together to create different shades of orange. We used a dry brush method so as not to get too much paint on the pumpkin and to give it that streaky hand painted look where you can see the brush strokes a bit. Brush in an up and down motion with the contours of the pumpkin. Do not cover the entire pumpkin in paint, we want a variation in the colors and it does not have to be perfect. It can be a little messy, but that is what gives it the handmade feel that we are going for. We took the time to paint all the white edges as well so they did not stand out, again this gave it more of the handmade ceramic feel we wanted. Let the paint dry for at least an hour before moving on to the next step.
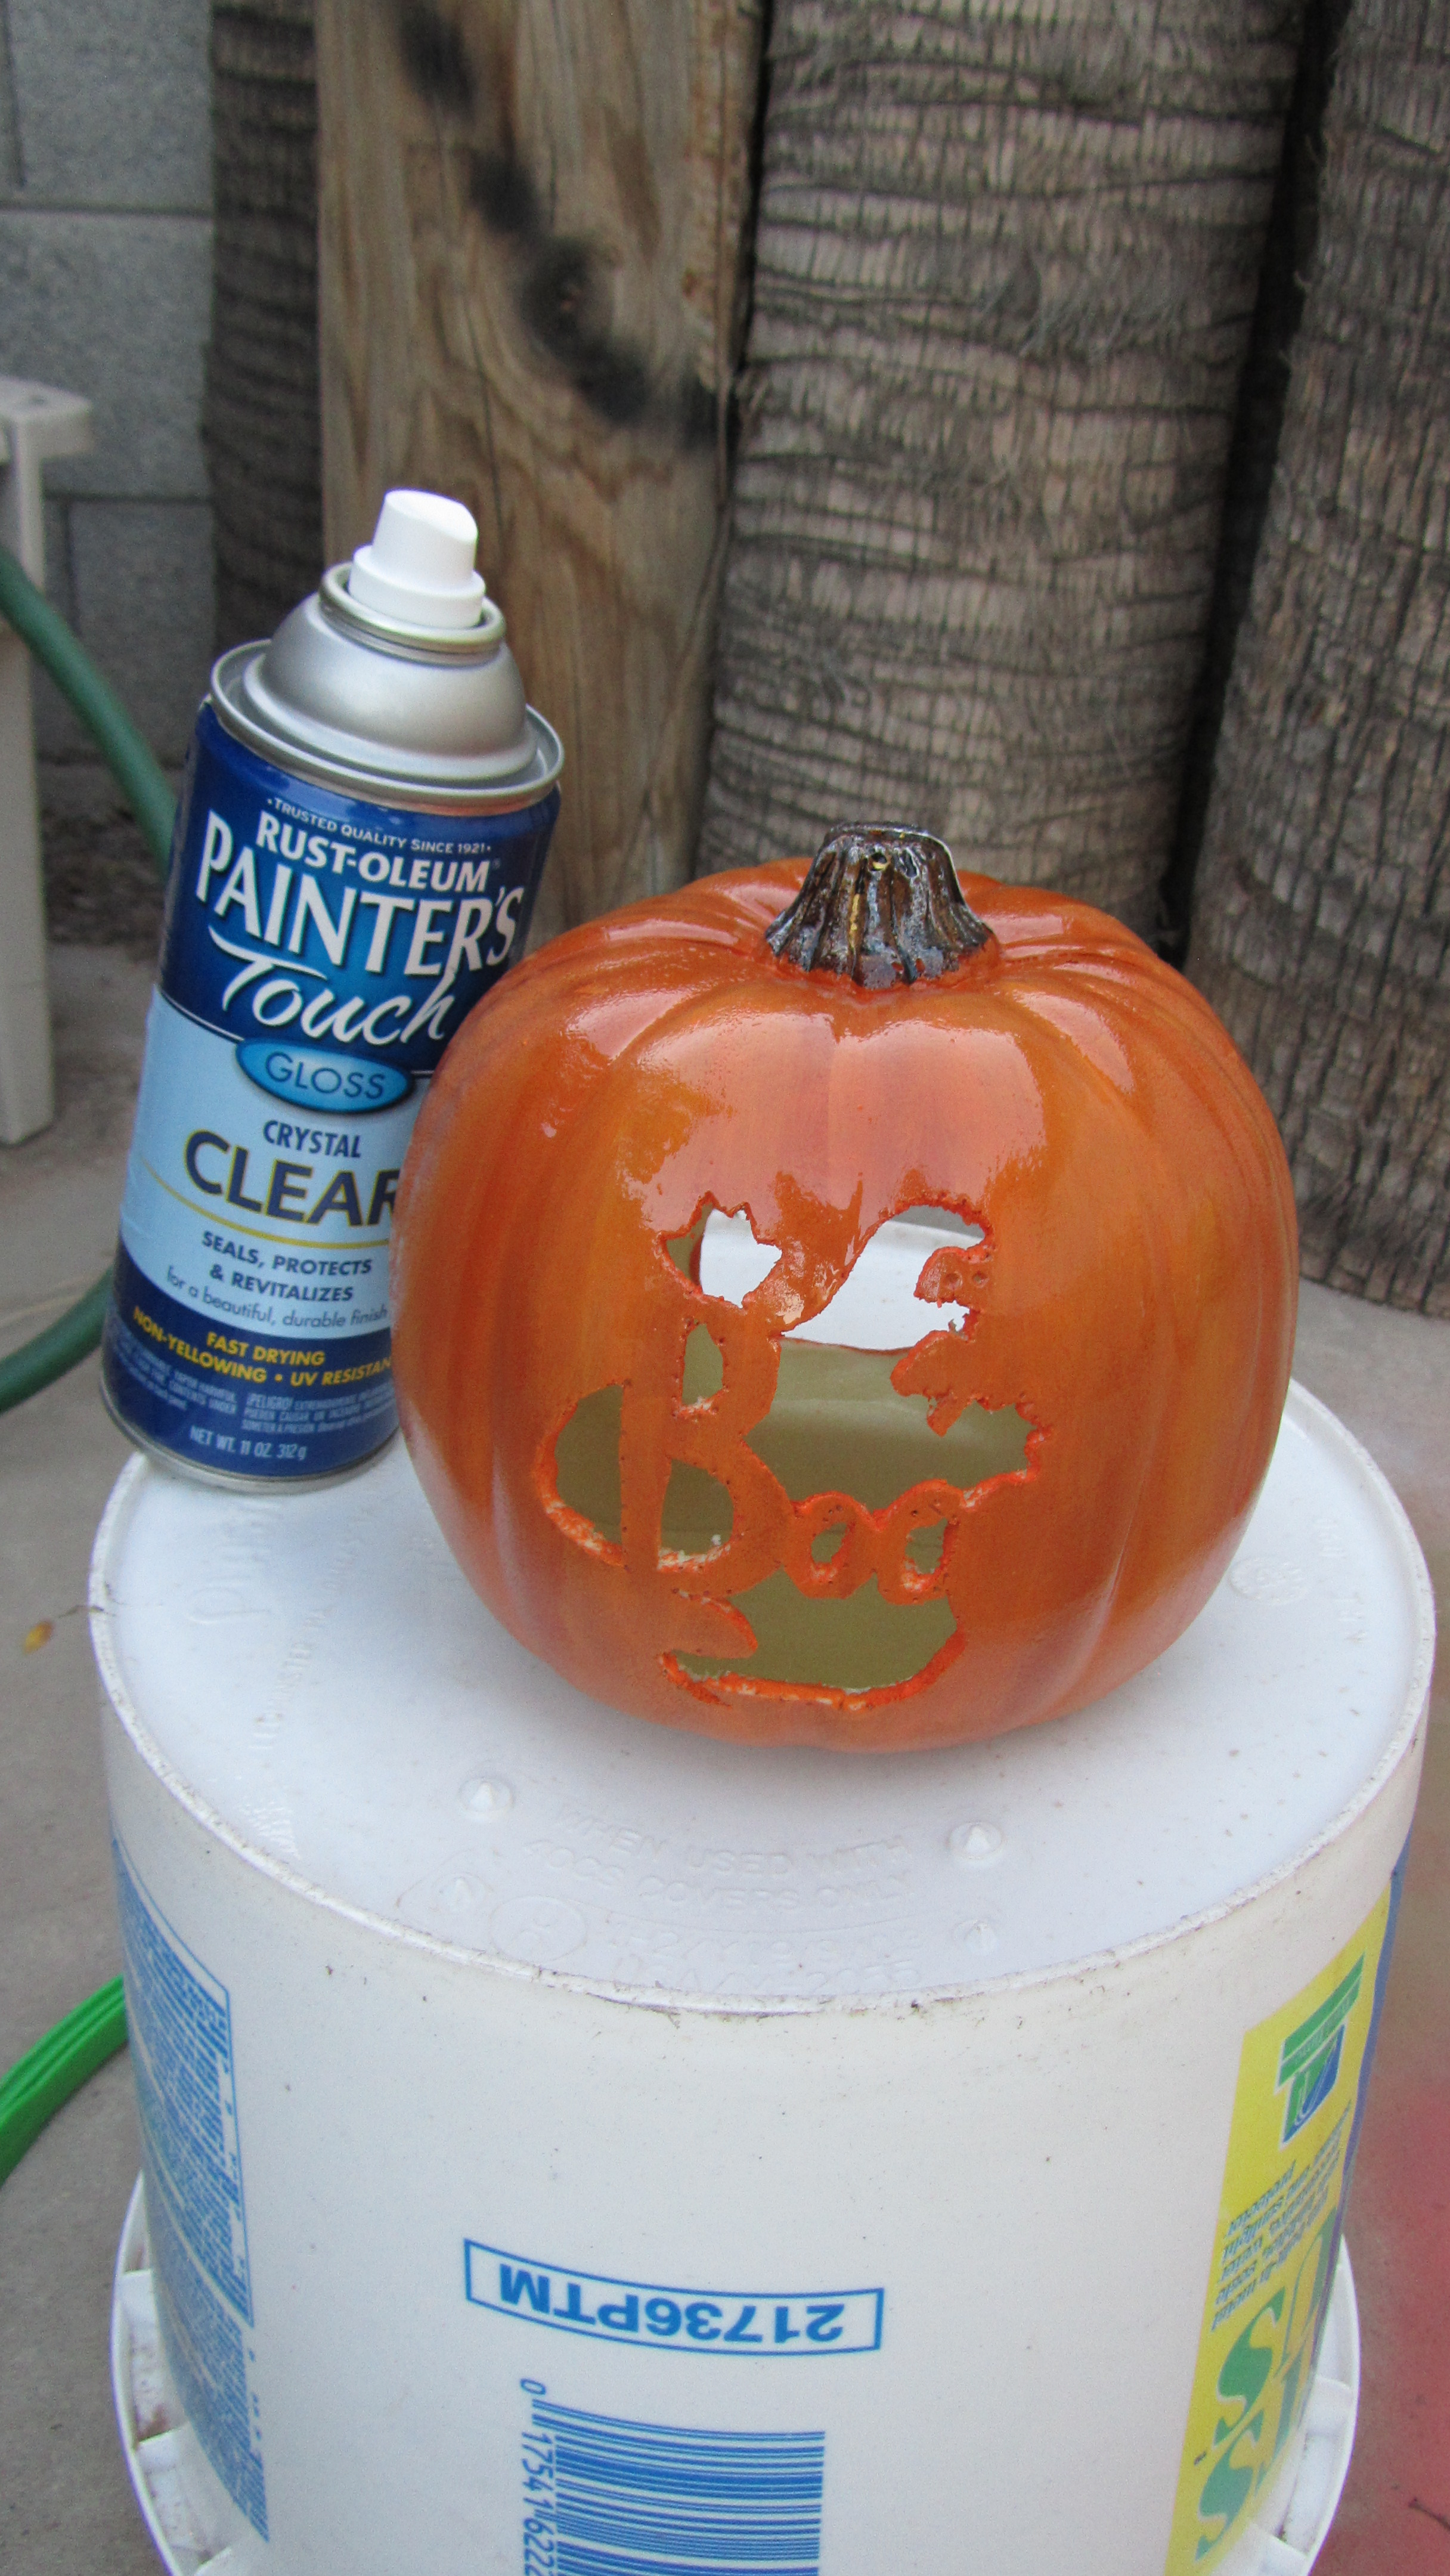
Step 7
Step 7: Now it’s time to take your pumpkin outside and spray with the glossiest spray paint you can find. We ended up applying 3 coats of clear gloss to our pumpkins. We waited about 15 minutes between coats. Depending on the weather where you are doing this you may need to wait longer.
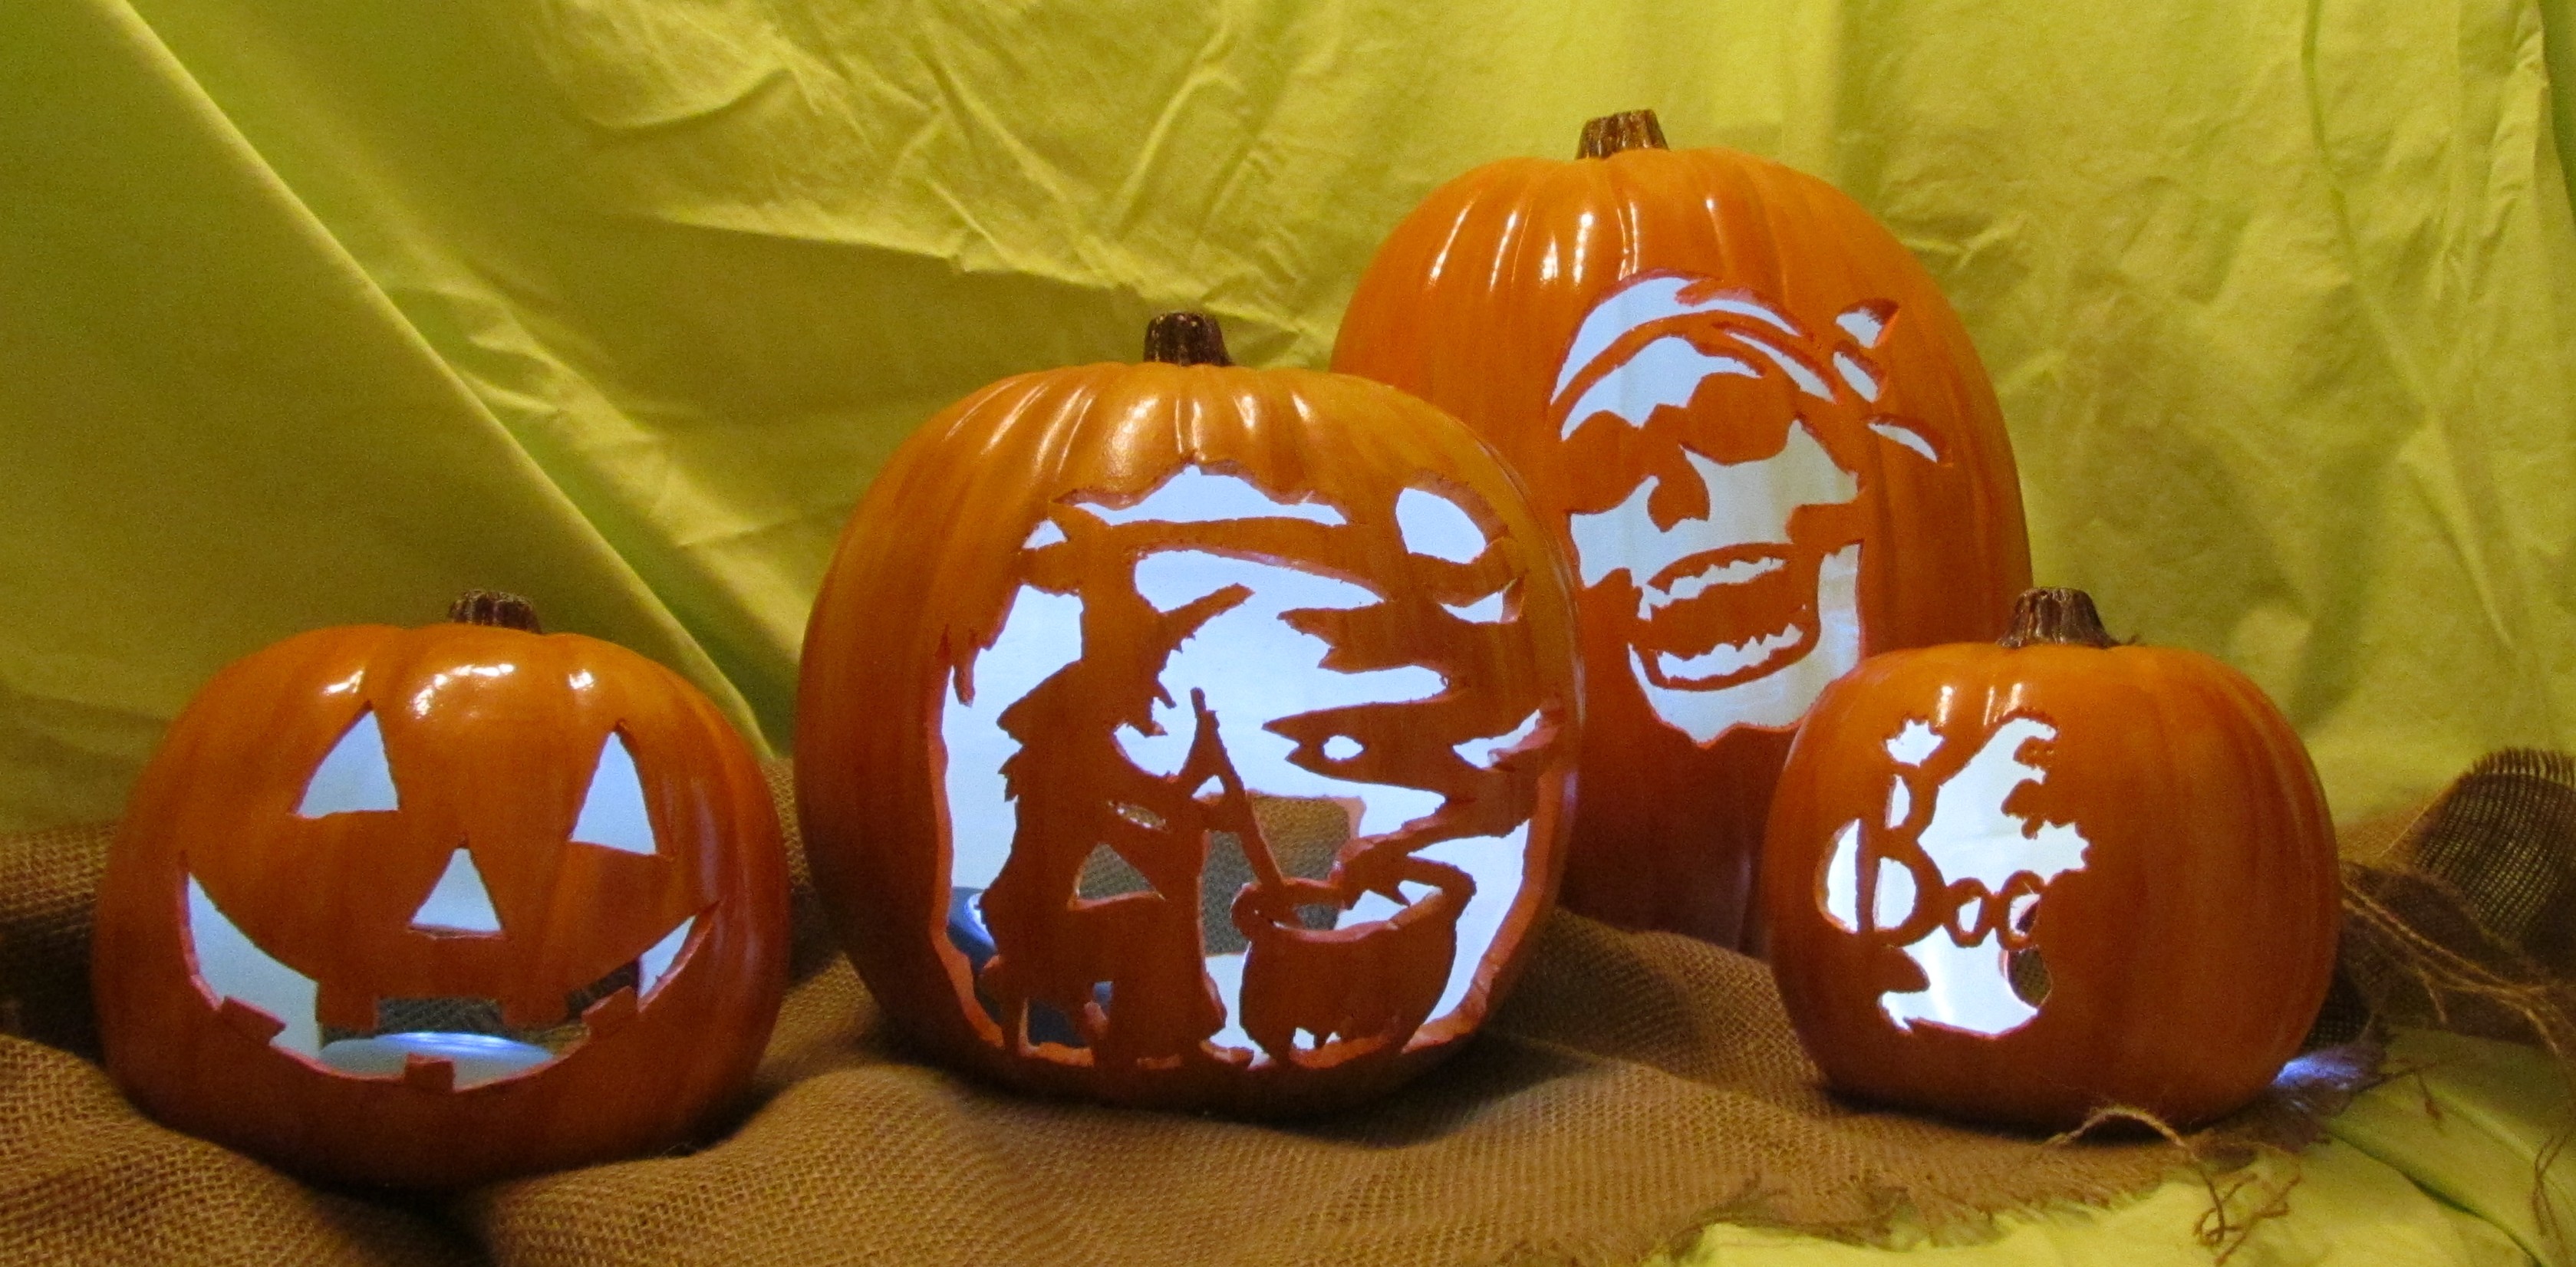
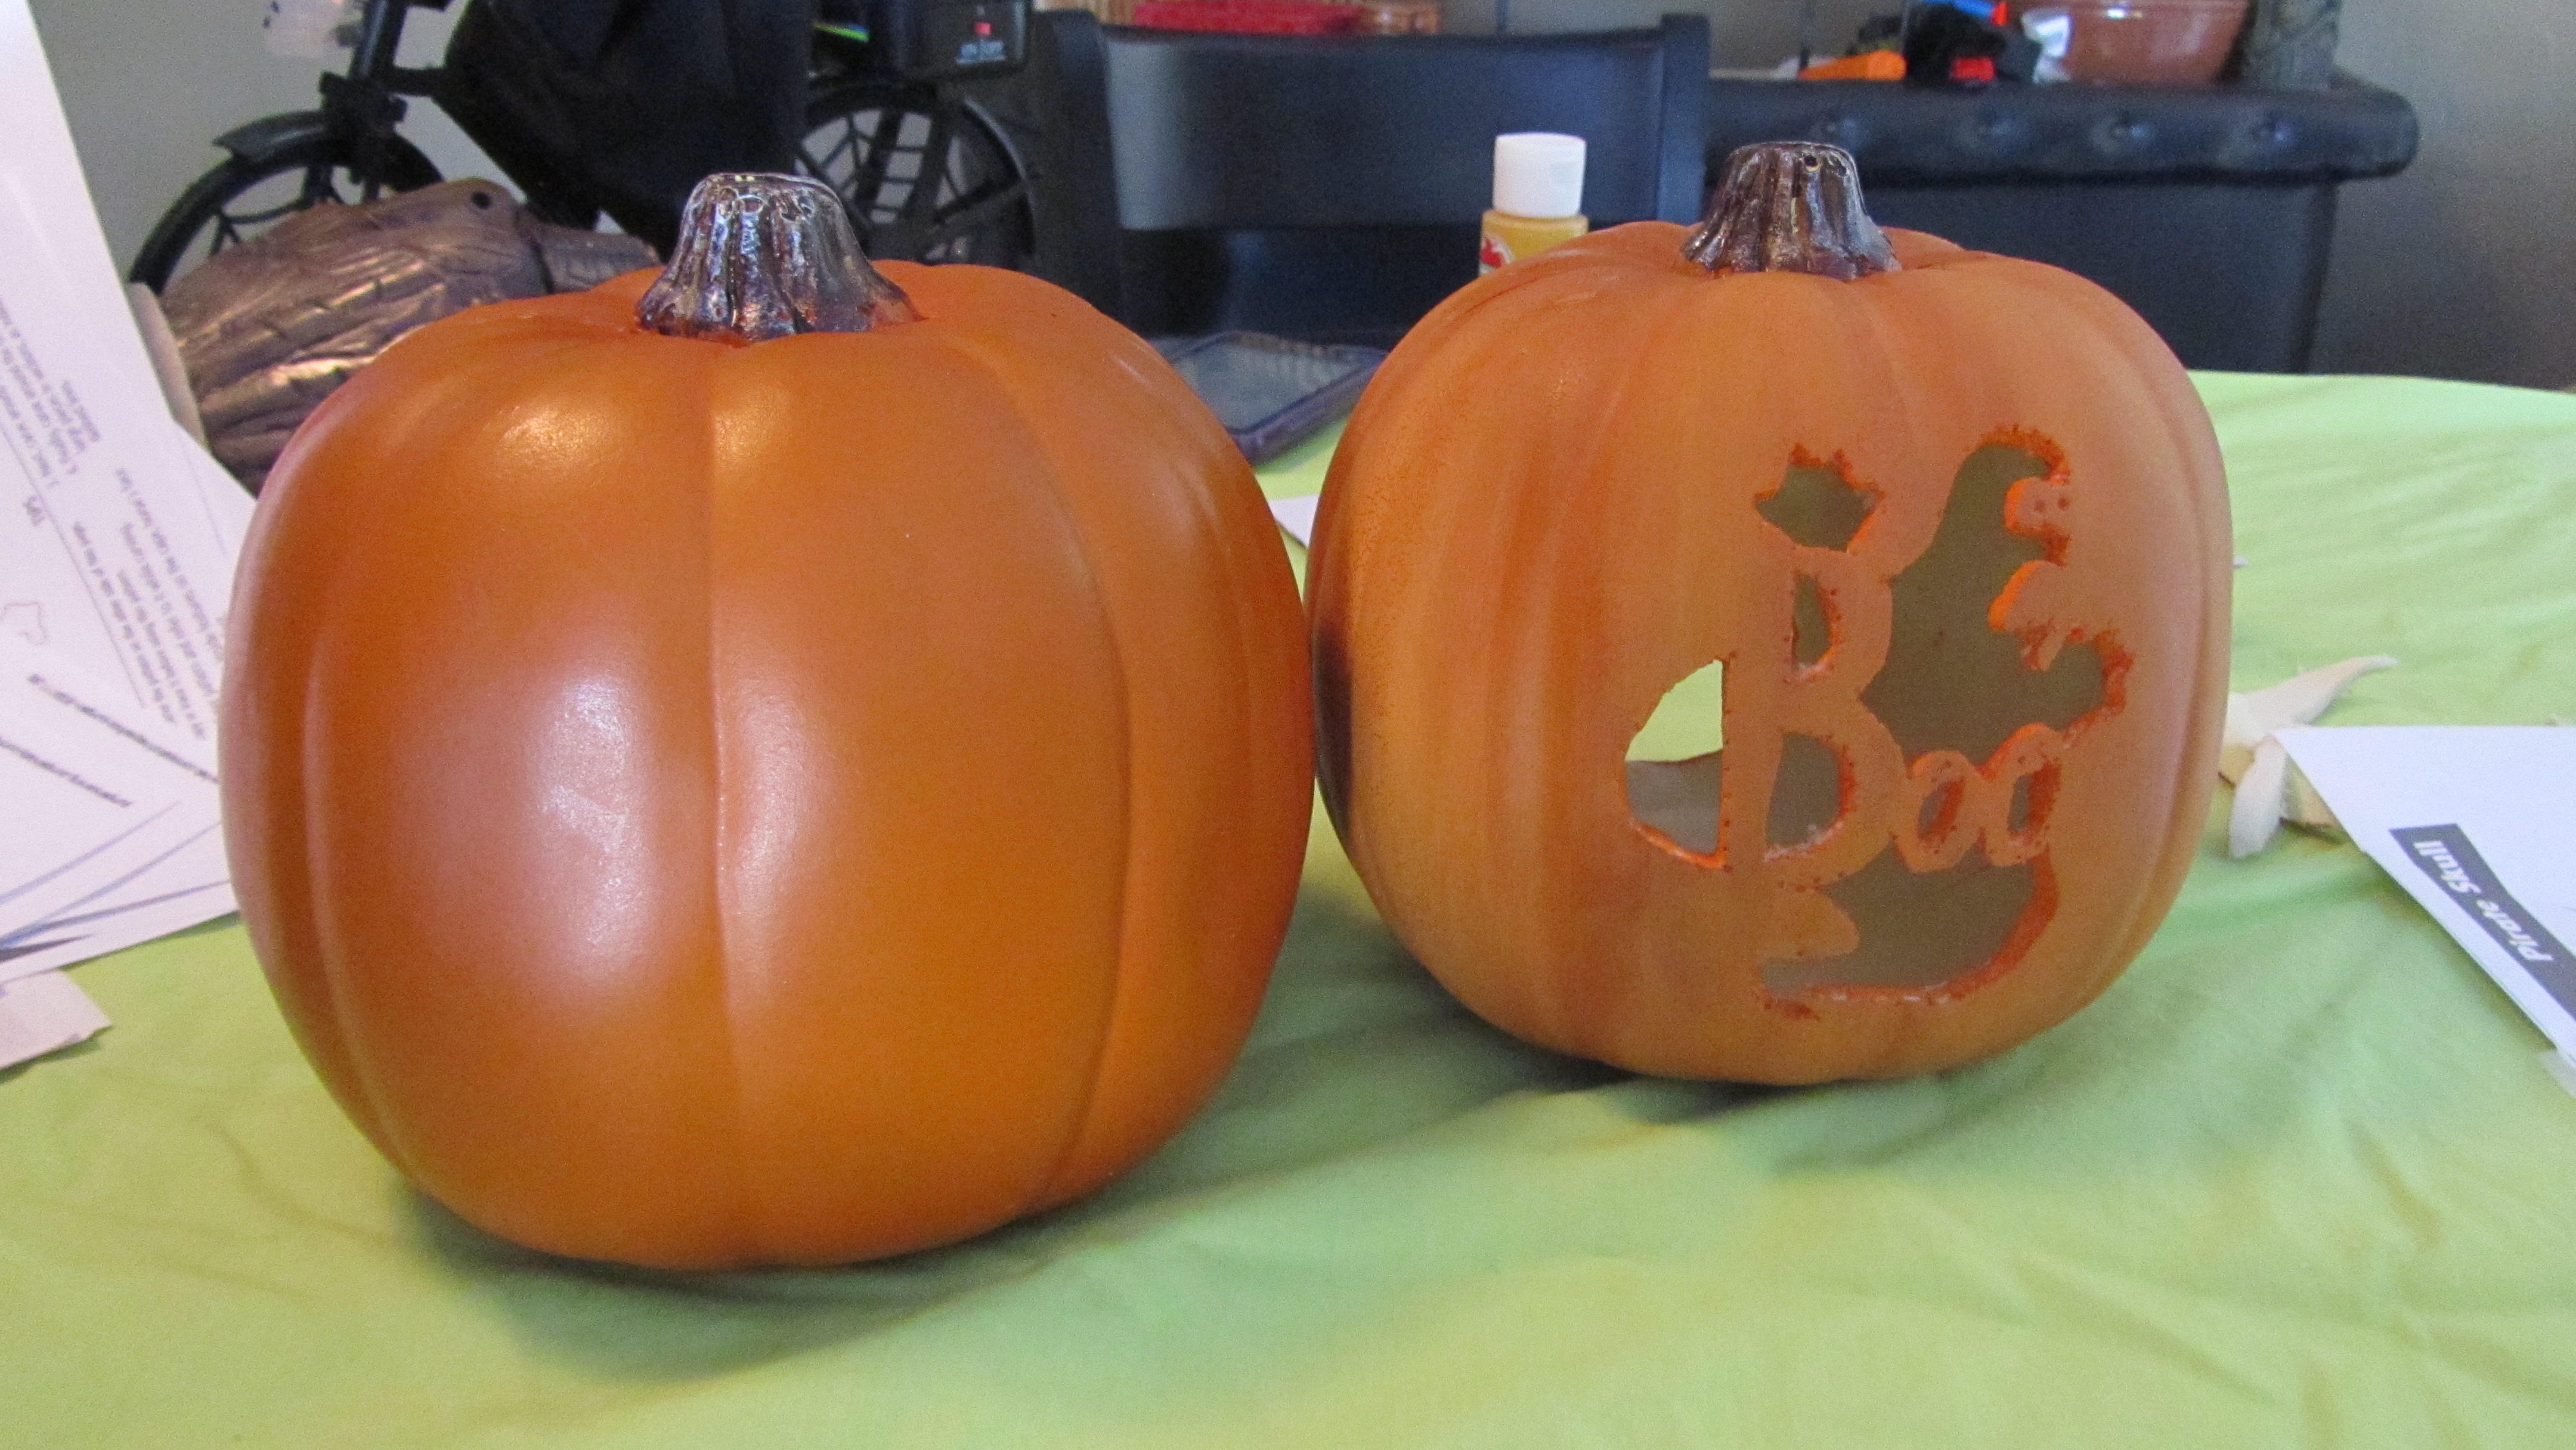
The finished Pumpkins – They all have a hand painted, glazed ceramic look to them.
Step 8: Let your pumpkins dry overnight and then they are ready to be lit and displayed for the season!

[…] holiday DIY’s from last year. Our favorites were the DIY Ghostly Ladies for the Yard, the DIY Faux Ceramic Pumpkins (a Pottery Barn knockoff), and of course our tips for DIY Date – Valentine’s Picnic (you do not […]