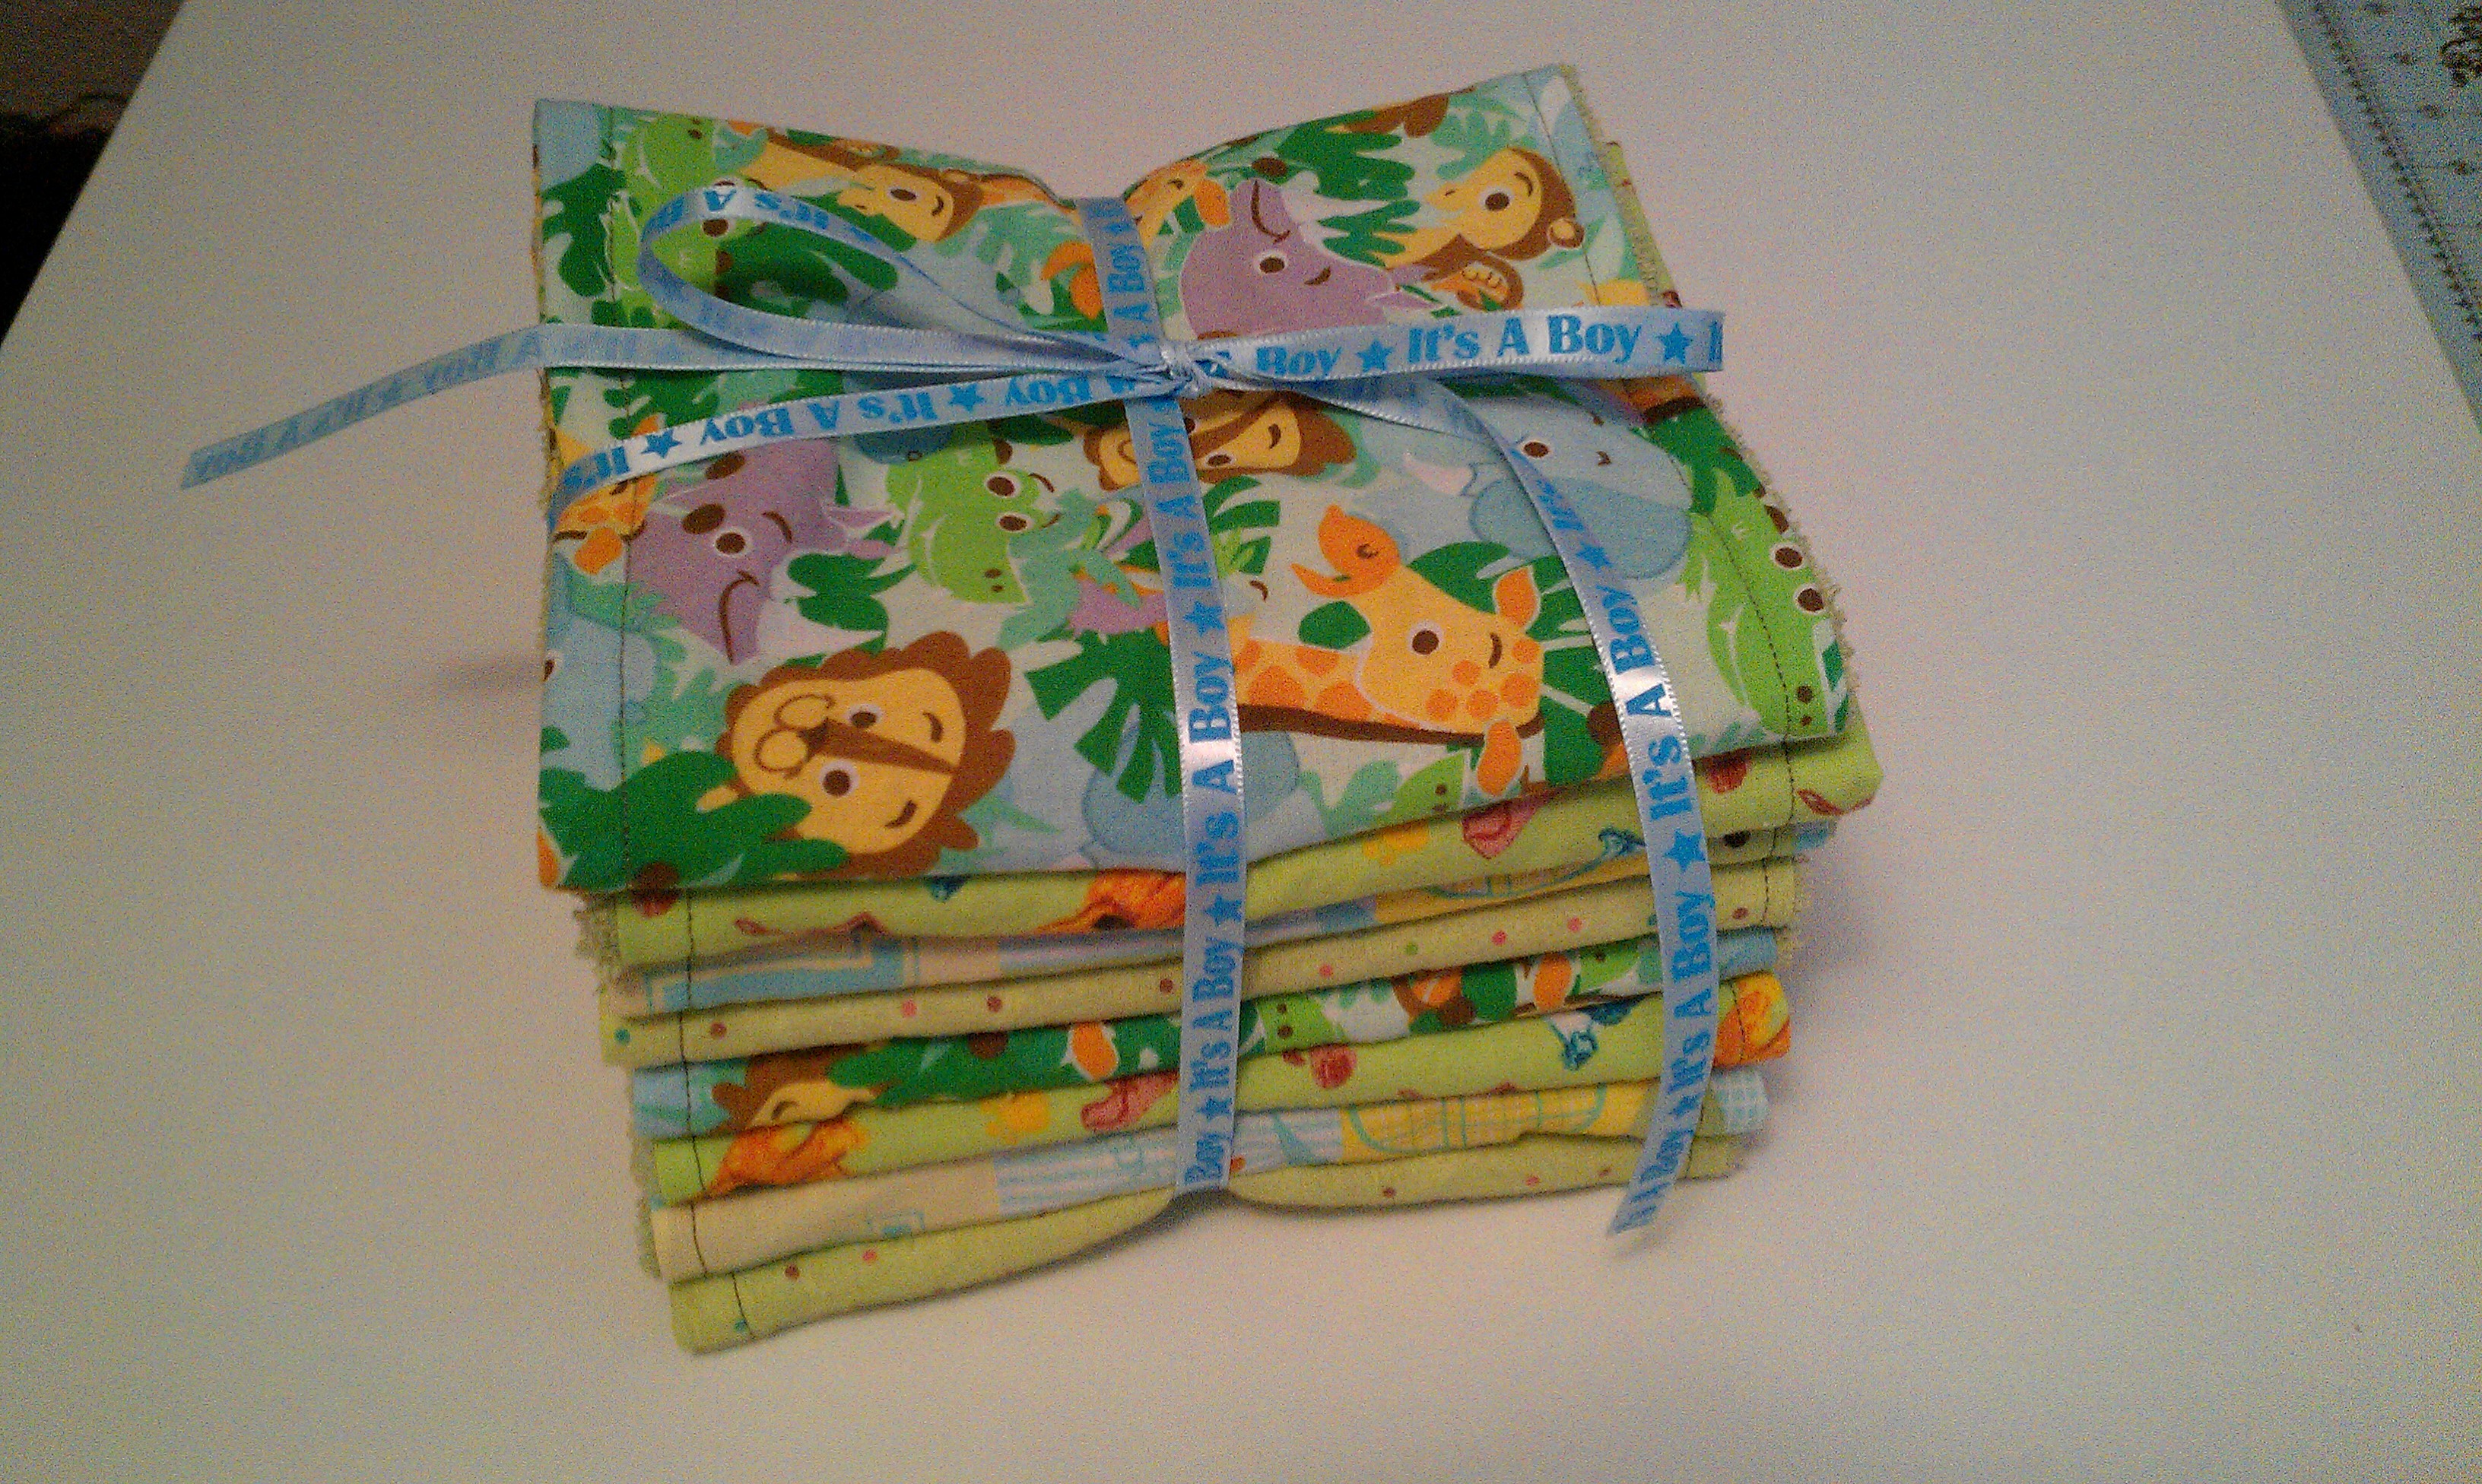
Today I am going to share with you how I made some super cute burp cloths for a friends baby shower. It was a great gift that was simple to make and as it turns out my friend absolutely loves them. She told me they are the perfect size to throw over your shoulder when needed. With just a few supplies and a little bit of time anyone who can sew a straight line can whip up a set of these to give as a gift or make them for yourself. Here is how I did it.
What you will need:
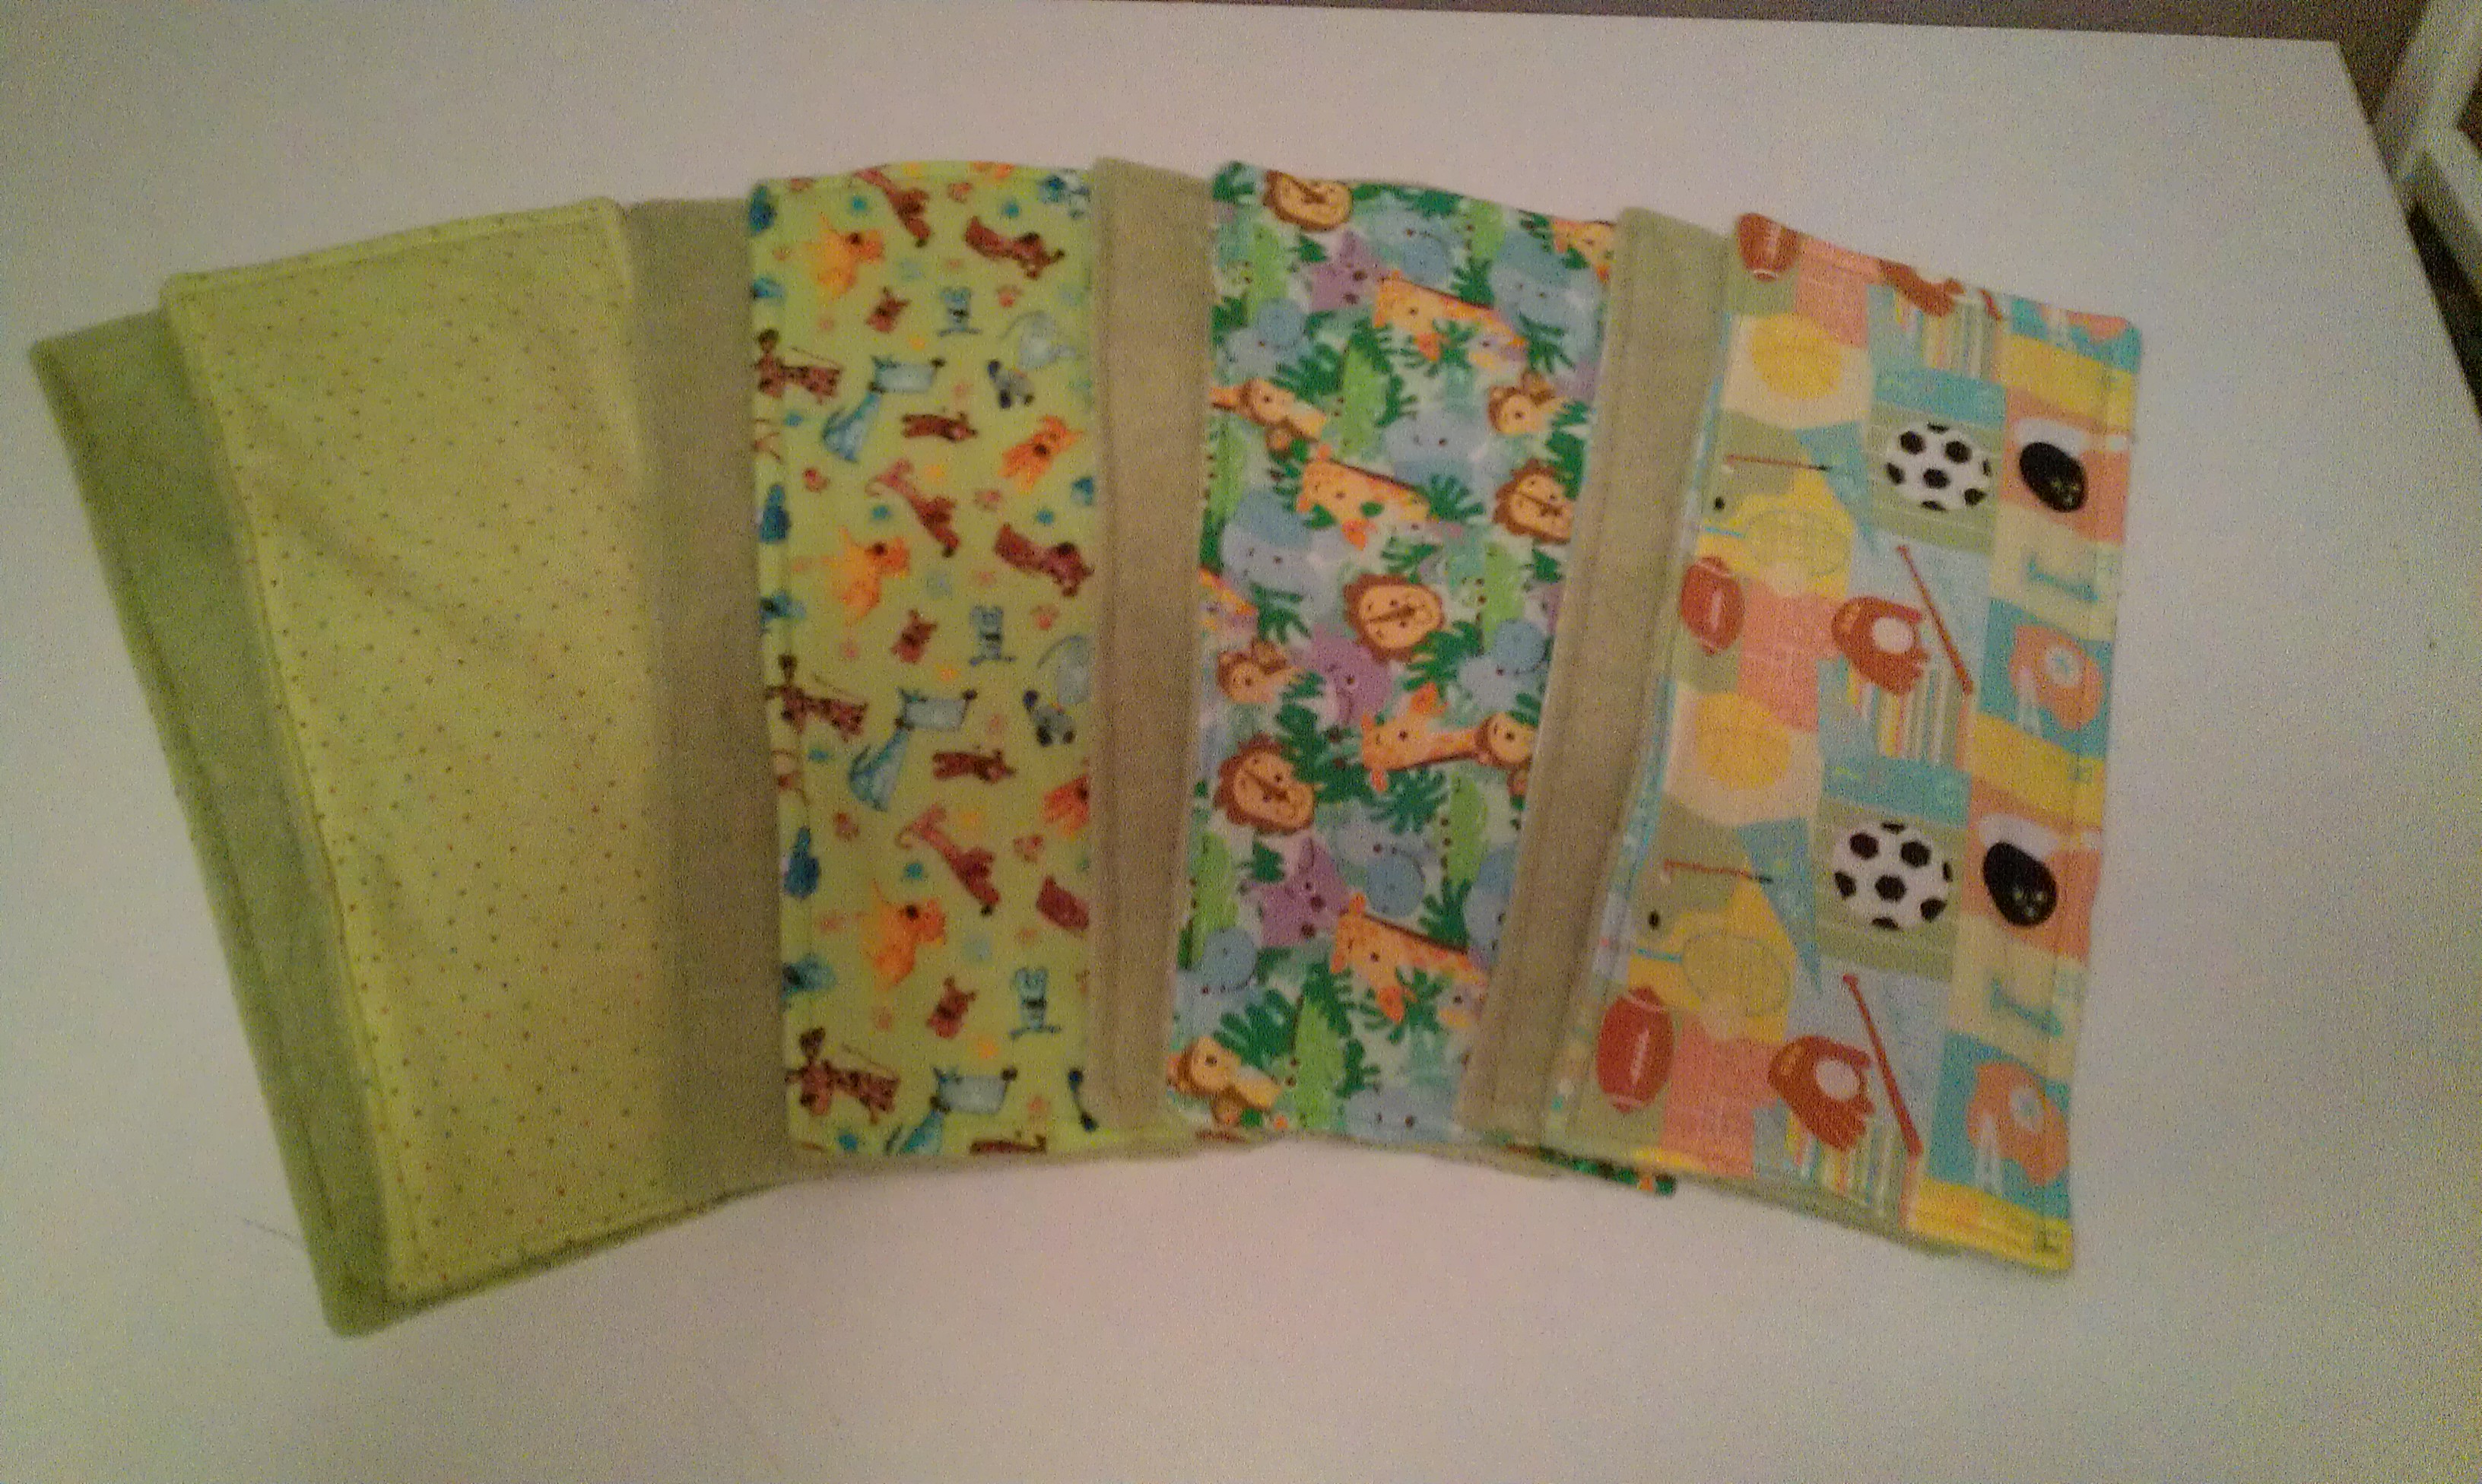
- I went to Joanns and picked out 4 fat quarters in different nursery prints. Each Fat Quarter will make the front of 2 burp cloths and the fabric was just a nice cotton print.
- 1 yard of terry cloth fabric in a color that will coordinate with all the fat quarters you selected
- Thread in a matching color
Directions:
Make sure to pre-wash all of your fabrics before sewing. This will take care of any shrinking issues before sewing the 2 different types of fabric together. This way you do not end up with messed up burp cloths the first time they are washed.
1.) First you will need to cut out all of the pieces. I am pretty meticulous when it comes to cutting things out and need to make sure everything is perfectly square and straight. The way I did this was to use a rotary cutter and my cutting mat that has measurements and a grid on it. I lined up the edge of the fabric just past the line I used as a guide, placed my cork backed metal ruler on top the fabric and then used my rotary cutter to cut the perfectly straight line. You will want to cut the fabric to a size of 8” wide x 17” long. Once you are done you should have 8 pieces with your fabric print (2 of each print) and 8 pieces cut from the terry cloth.
2.) Once all the rectangles are cut you will want to match each print with a piece of the terry cloth and pin them right sides together. Make sure to line up all the edges nicely.
3.) Now you are ready to sew. I used a ¼” seam allowance and you will want to sew around all of the edges. Leave an opening of about 2 ½ to 3 inches on the bottom short side of each of the burp cloths so you can turn it right side out.
4.) Once the edges have been sewn you will want to clip all the corners at an angel, be careful not to clip into the seam you have just sewn. This will allow you to have nicer corners when you turn it right side out.
5.) Once you have sewn all 8 turn each of them right side out through the opening that you left on the bottom of each one and make sure to poke into each of the corners to make sure that they each turn into a nice corner and are not too rounded or bunchy.
6.) Lastly you will want to top stitch around then entire outside edge. Again this is done at about a ¼”. Make sure when you get to the bottom that you have turned the open seam in so you can close that up with the top stitching. For the burp cloths I made I just used a straight stitch, but feel free to get fancy and use something decorative as well. Get creative with it.
And that is it, you are done. You now have a lovely set of 8 burp cloths to use yourself or wrap up with some ribbon and give as a great homemade gift!

Leave a Reply