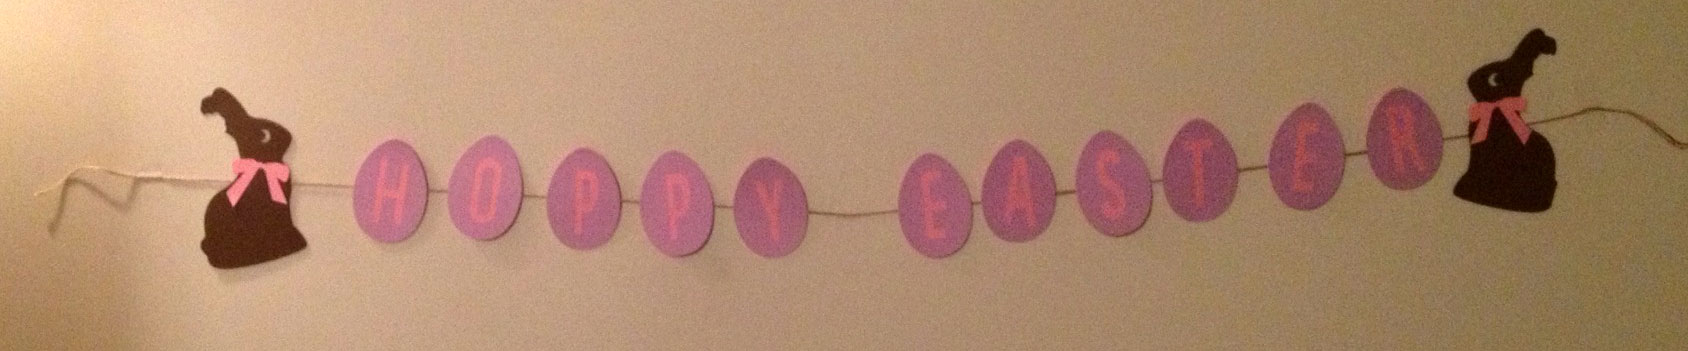
In honor of the Easter holiday this weekend we thought we would share a DIY Garland that we made for our Easter Celebration this weekend. It is a quick and easy project to make. This was made even easier with the use of my new Cricut Explore machine.
To make the garland I cut out 11 egg shapes in the pink colored cardstock (you can use whatever color you like). This will be the color that the letters will show in. I then cut out 11 purple eggs and had the letters to spell out Hoppy Easter cut out of each of the eggs as well. If you do not have an explore you can still use the print and cut feature to print the images out and then cut by hand. Another way would be to stencil in the letters and color or paint them in the color of your choice.
If you chose to cut like I did, then you will need to glue the eggs with the letters cut out on top of your solid eggs. After this I cut out some chocolate bunnies to cap off each end of the garland. Once everything is cut and glued together you can construct your garland. I used some twine I found in the garage and simply taped each piece to the twine to create the garland.
There you go, a quick and simple project to add to your Easter décor! Have a wonderful weekend.

Leave a Reply